Tutorial: The Studio Wall Toolbar
The Studio Wall Toolbar
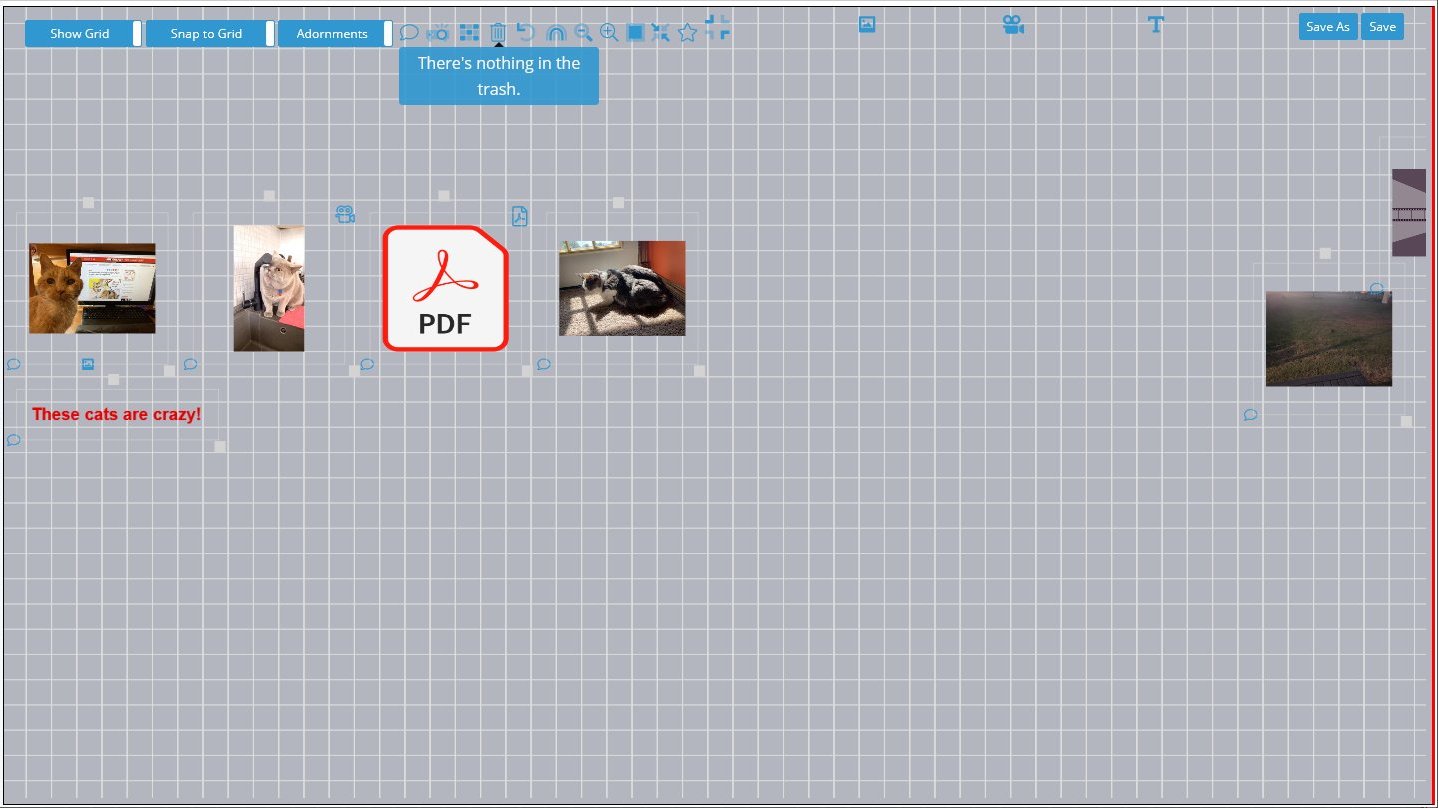
The Studio Wall toolbar located above the studio wall has a set of buttons that help you perform a variety of tasks.
The toolbar looks something like this:

You will find these buttons:
-
💬 Comments Button (
 ) opens up a Comments dialog as you might expect, but when you click it on the toolbar, your comment will be applied to the Studio Wall as a whole, so use it to discuss the overall gestalt of the studio wall. Also, you can only comment when updating or viewing a studio wall, not when adding it. For more information, see "Commenting on the Studio Wall."
-
🖼️ View Slideshow Button (
 ) will display all the photos on your Studio Wall in a slideshow format. You can also crop images while in slideshow view (for more information, see Viewing the Studio Wall Slideshow).
-
📐 Re-grid Button (
 ) will re-size all the items on your studio wall to a uniform size and will lay them out in neat rows starting at the top left corner of the studio wall.
-
🗑️ Trash Can Button looks like this when it's empty:
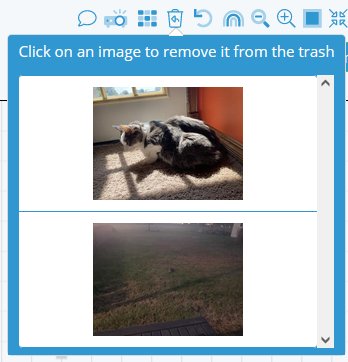
 . It does not delete the studio wall--you can do that on the My Studio Walls tab. It contains the items you have 'trashed' from the Studio Wall in case you change your mind.
When it has an arrow on it (
 ), that means you can click it to see a list of those items you've removed.
You can click an item in the trash to restore it to the studio wall, where it will display in the middle.
The trash can is emptied every time you save your studio wall, so be careful. -
↶ Undo Button (
 ) acts as you would expect--it undoes the previous action you did. It also keeps a running list of what you've been doing, so you can click it multiple times to correct multiple missteps. Like the trash can, the Undo list is cleared when you save the studio wall.
-
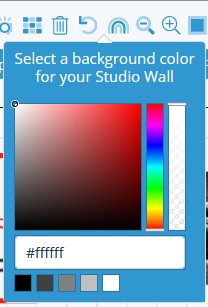
🌈 Background Color Button (
 ) opens a color picker so that you can change the background color of your Studio Wall:

You can adjust color values, type a RGBA or HTML color value in the edit box, or click one of the common palette color boxes. This will change the background of the studio wall (but not the slideshow).
-
🔍 Zoom Controls - The Zoom Out and Zoom In buttons (
 ) change the viewing size of your Studio Wall--but not the size of individual items (that's what the resize handle does!). So if you want a better look, zoom in.
-
↗️ Normal Size Button (
 ) will return the Studio Wall to its normal size regardless of how far in you've zoomed in or out.
-
🖼️ View All Items Button (
 ) will zoom out so that all items on the studio wall are visible. It comes in handy if you've been moving things out of the viewable area and zooming in elsewhere, but this might cause the items to display small on your studio wall.
-
⭐ Filter button (
 ) will show the filter panel.
Toggle Behavior:If the button is filled in (
 ), the filter panel will be showing. Click it
again to hide it.
-
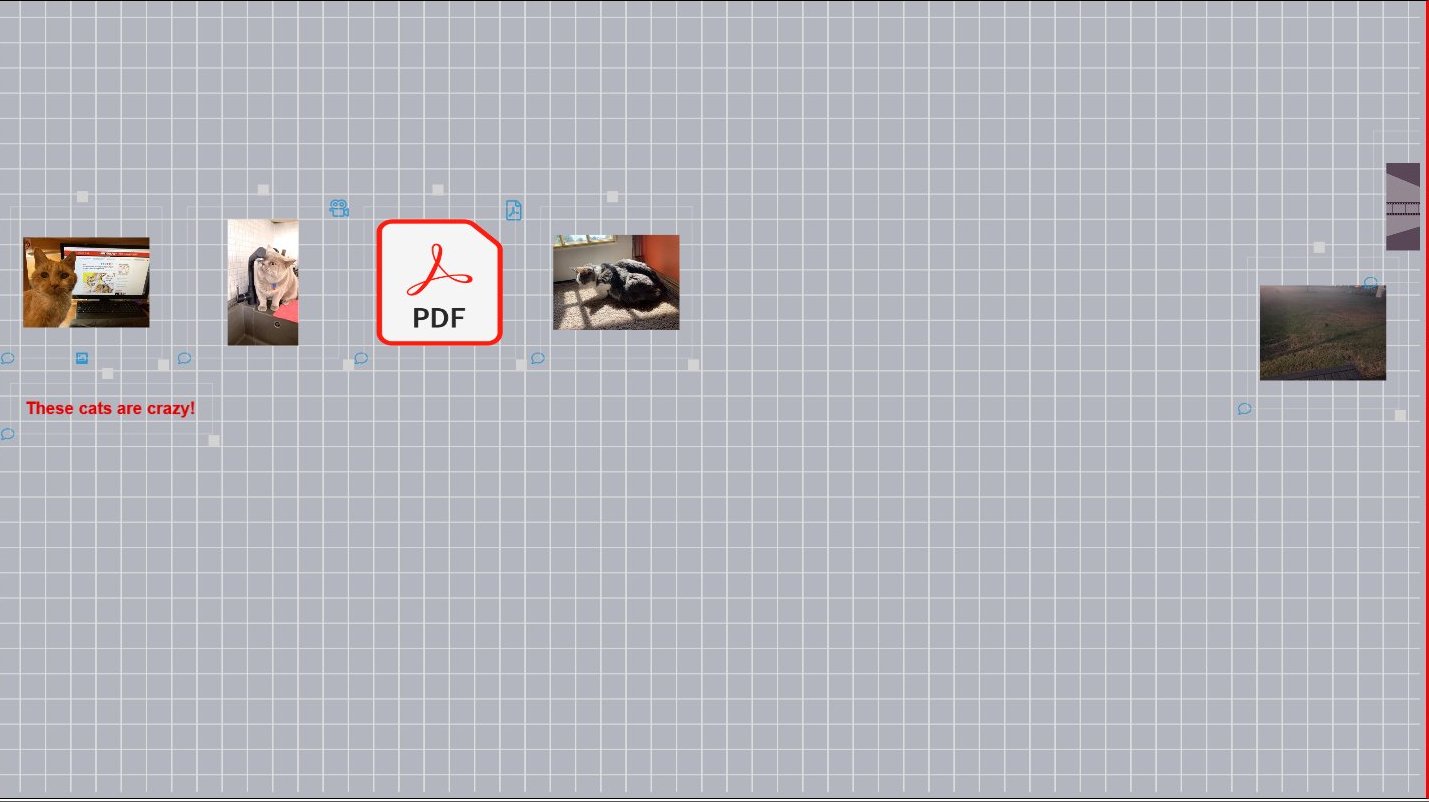
⛶ Full Browser View Button (
 ) shows the studio wall with minimal intrusion from the interface--that is, all the buttons and sliders we've been describing so far:

You can still access these functions, though, by mousing to the top of the screen:
