Tutorial: Sharing the Studio Wall
Sharing the Studio Wall
Understanding Sharing
We mentioned briefly in the Create a Studio Wall tutorial that you can share a studio wall and that you do it via the button above the Save and Save As buttons. But let's take a little more time to talk about what sharing means.
The button shows the current sharing state of the studio wall. By default, this will be Not Shared ( ) since we know you don't want anyone else to see it until it's just right.
Once your studio wall is ready, though, you can click the button to share it and choose how you would like to share it:
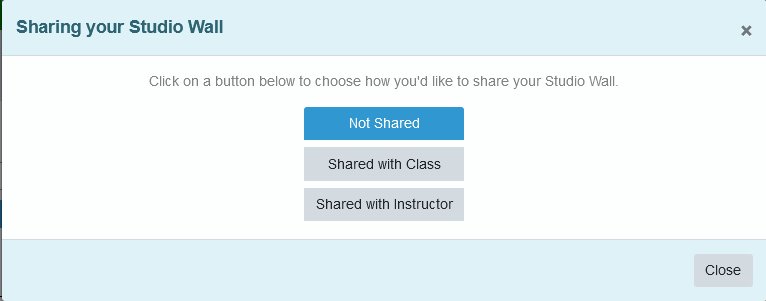
Sharing Options
You can share your studio wall in the following ways:
-
👥 Share with Class (
 )
)
When you share a studio wall with your class, your classmates can view your studio wall and comment on it or the items on it, but they cannot make changes. -
👨🏫 Share with Instructor (
 )
)
When you share a studio wall with the instructor, your instructor can comment on the studio wall and the studio wall items, and the instructor can make changes to it to show to the class or make a copy of the studio wall to edit. -
🤝 Collaborative Studio Wall (
 )
)
Instructors have an extra sharing option: Collaborative Studio Wall. When an instructor shares a wall like this, all the students in the class and the instructor can make changes to the studio wall, including adding items, trashing items, cropping items, moving and resizing items--it's just like it was your own studio wall.Instructor Only:This collaborative option is only available to instructors, not students. -
🔒 Make Private Again
Of course, even if you've shared an item, you can make it private again using the Not Shared option (). The items and the studio wall will retain any comments made while it was shared.
Automatic Privacy Protection
Additionally, because we suspect you're a bit of a perfectionist, we make sure to set the sharing state of a studio wall to Not Shared on the copy when you use the Save As button and if, for some reason, you use the Course drop-down list to change the studio wall's course.
We want to make sure you only share your studio walls when you are absolutely ready.
What's Next?
That's the basics of what you can do when adding or updating a studio wall. But we've got a couple of other pieces of information that the studio wall can show you.