Tutorial: The Critique Form
When you click on a critique request, the Critique form displays:
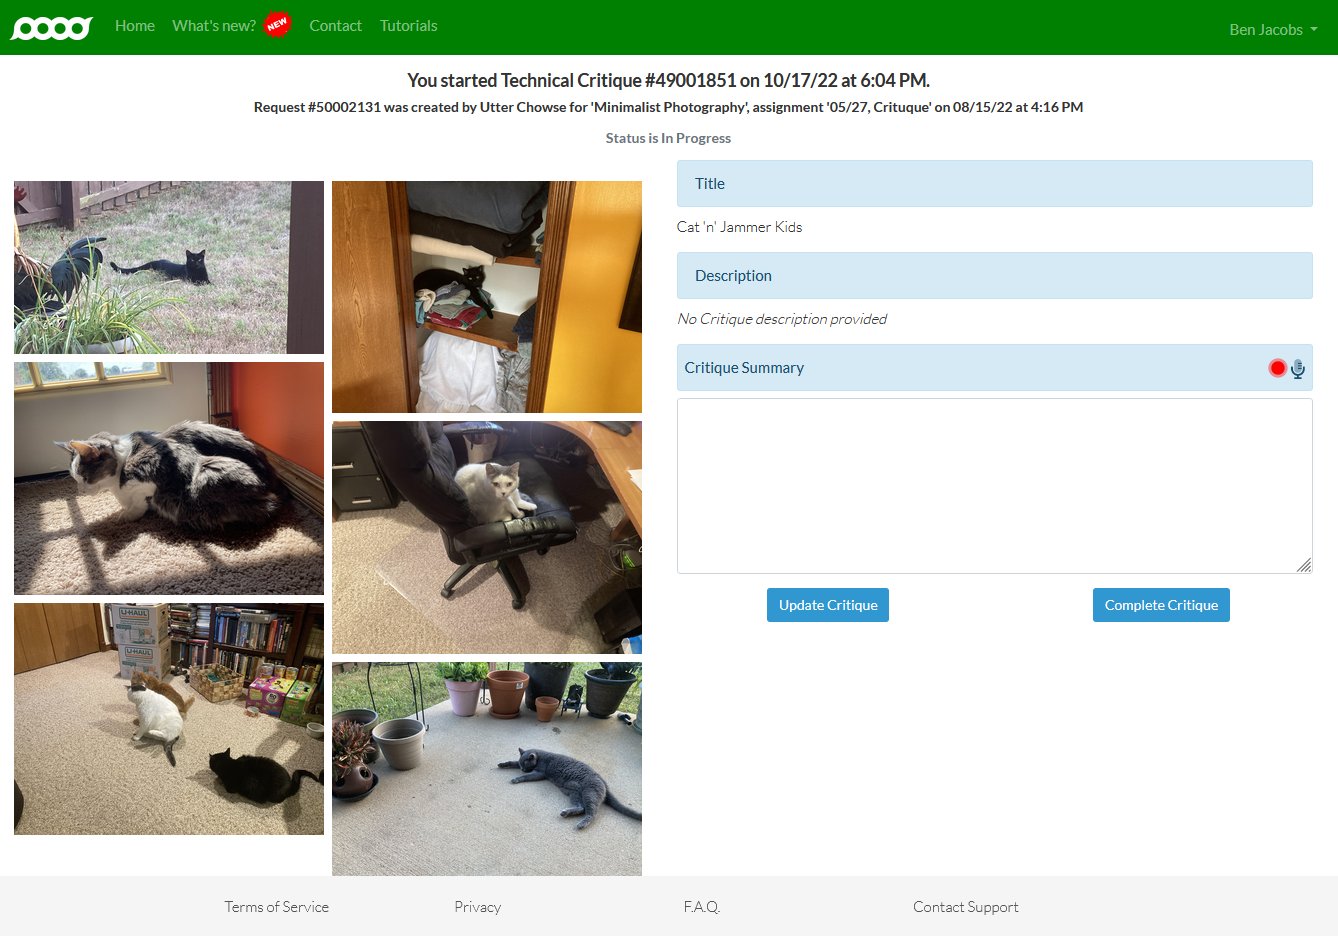
The right side of the screen has the Critique Request Title and Description added by the student. Below that, you'll find the Critique Summary edit box and recording controls. We will talk about Adding the Critique Summary later.
When you're working on a critique, you can click to save your progress and return to make further annotations. When you click , you will send the critique to the student, so you probably don't want to do that until you've made annotations and a critique summary that you'll learn about by and by.
Beneath the photographs (but not depicted in the screenshot above), you will find the questions that the student added as well as the logo or icon of the post-critique photo editing tool that the student selected (if any). You'll also find a little counter that indicates how long you've been working on this critiquer--the number of seconds that you've had it open, not how many days since you accepted it.
The photos that the student uploaded display on the left side of the screen; you can click each to make annotations on the individual photographs. Let me show you how to do that next.
Up next: The Annotation Controls
Previously: Accepting a Critique Request