Tutorial: Adding Items to a Studio Wall
Getting Started
Now that you have created a Studio Wall, you might want to know the Studio Wall a little better to see what you can do with it. The Atget Studio Studio Wall provides a handy place to showcase your work and let your instructor and classmates comment on them.
This tutorial will give you a little tour of the studio wall and the buttons and controls on it that allow you to add different items to it, manipulate them, and comment on them.
You've already learned about the Course, Assignment, and Title in the Create a Studio Wall tutorial. These control the course and the assignment as well as provide a description of them. You can edit these once you've created the studio wall.
Adding Items to the Studio Wall
In the Create a Studio Wall tutorial, we showed you how to add photos to the studio wall. But you can add other things to the studio wall, including links to videos, PDF files and free text. The buttons for adding items to the studio wall are directly above the studio wall:

-
📷 Upload Images and PDFs
The Click here to upload a JPEG, GIF, MPO, PNG, TIFF image, or PDF button, as you've seen, opens a file chooser for you to select photos or Portable Document Format (PDF) files to include on the Studio Wall. -
🎥 Add Video
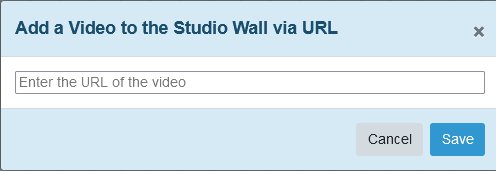
The Add Video button displays a small dialog for you to enter the URL / Web address of a video:
You can put the URL, including https://, in the edit box, and we'll add an item to the studio wall for it.
Video Support:For some popular sites like YouTube and TikTok, we can get (and display) the video's title and thumbnail image, but for other sites we only display a movie camera icon. Your studio wall viewers can double-click to either play the video or see the link to the video, and they can click it to see it in a new browser window or tab. -
📝 Add Text
The Add Text button opens a dialog like a miniature word processor where you can type text that will display on your studio wall:
You can use the toolbar at the top to change the style, font, color, background color, and alignment of the text.
What's Next?
After you've added items to the studio wall, you can move them around and do other things to them. We'll talk about that next.