Tutorial: Updating a Studio Wall
Modifying Your Studio Wall
This tutorial will guide you through updating an existing Studio Wall. You'll learn how to delete photographs, rearrange items, resize elements, and save your changes. We'll also cover the undo functionality for when you need to reverse actions.
-
Log in to Atget Studio: In your browser, go to https://atget.studio to access the login screen.

Click the Log In button to proceed to the credentials screen. -
Enter Your Login Credentials: Fill in your member information on the login screen.
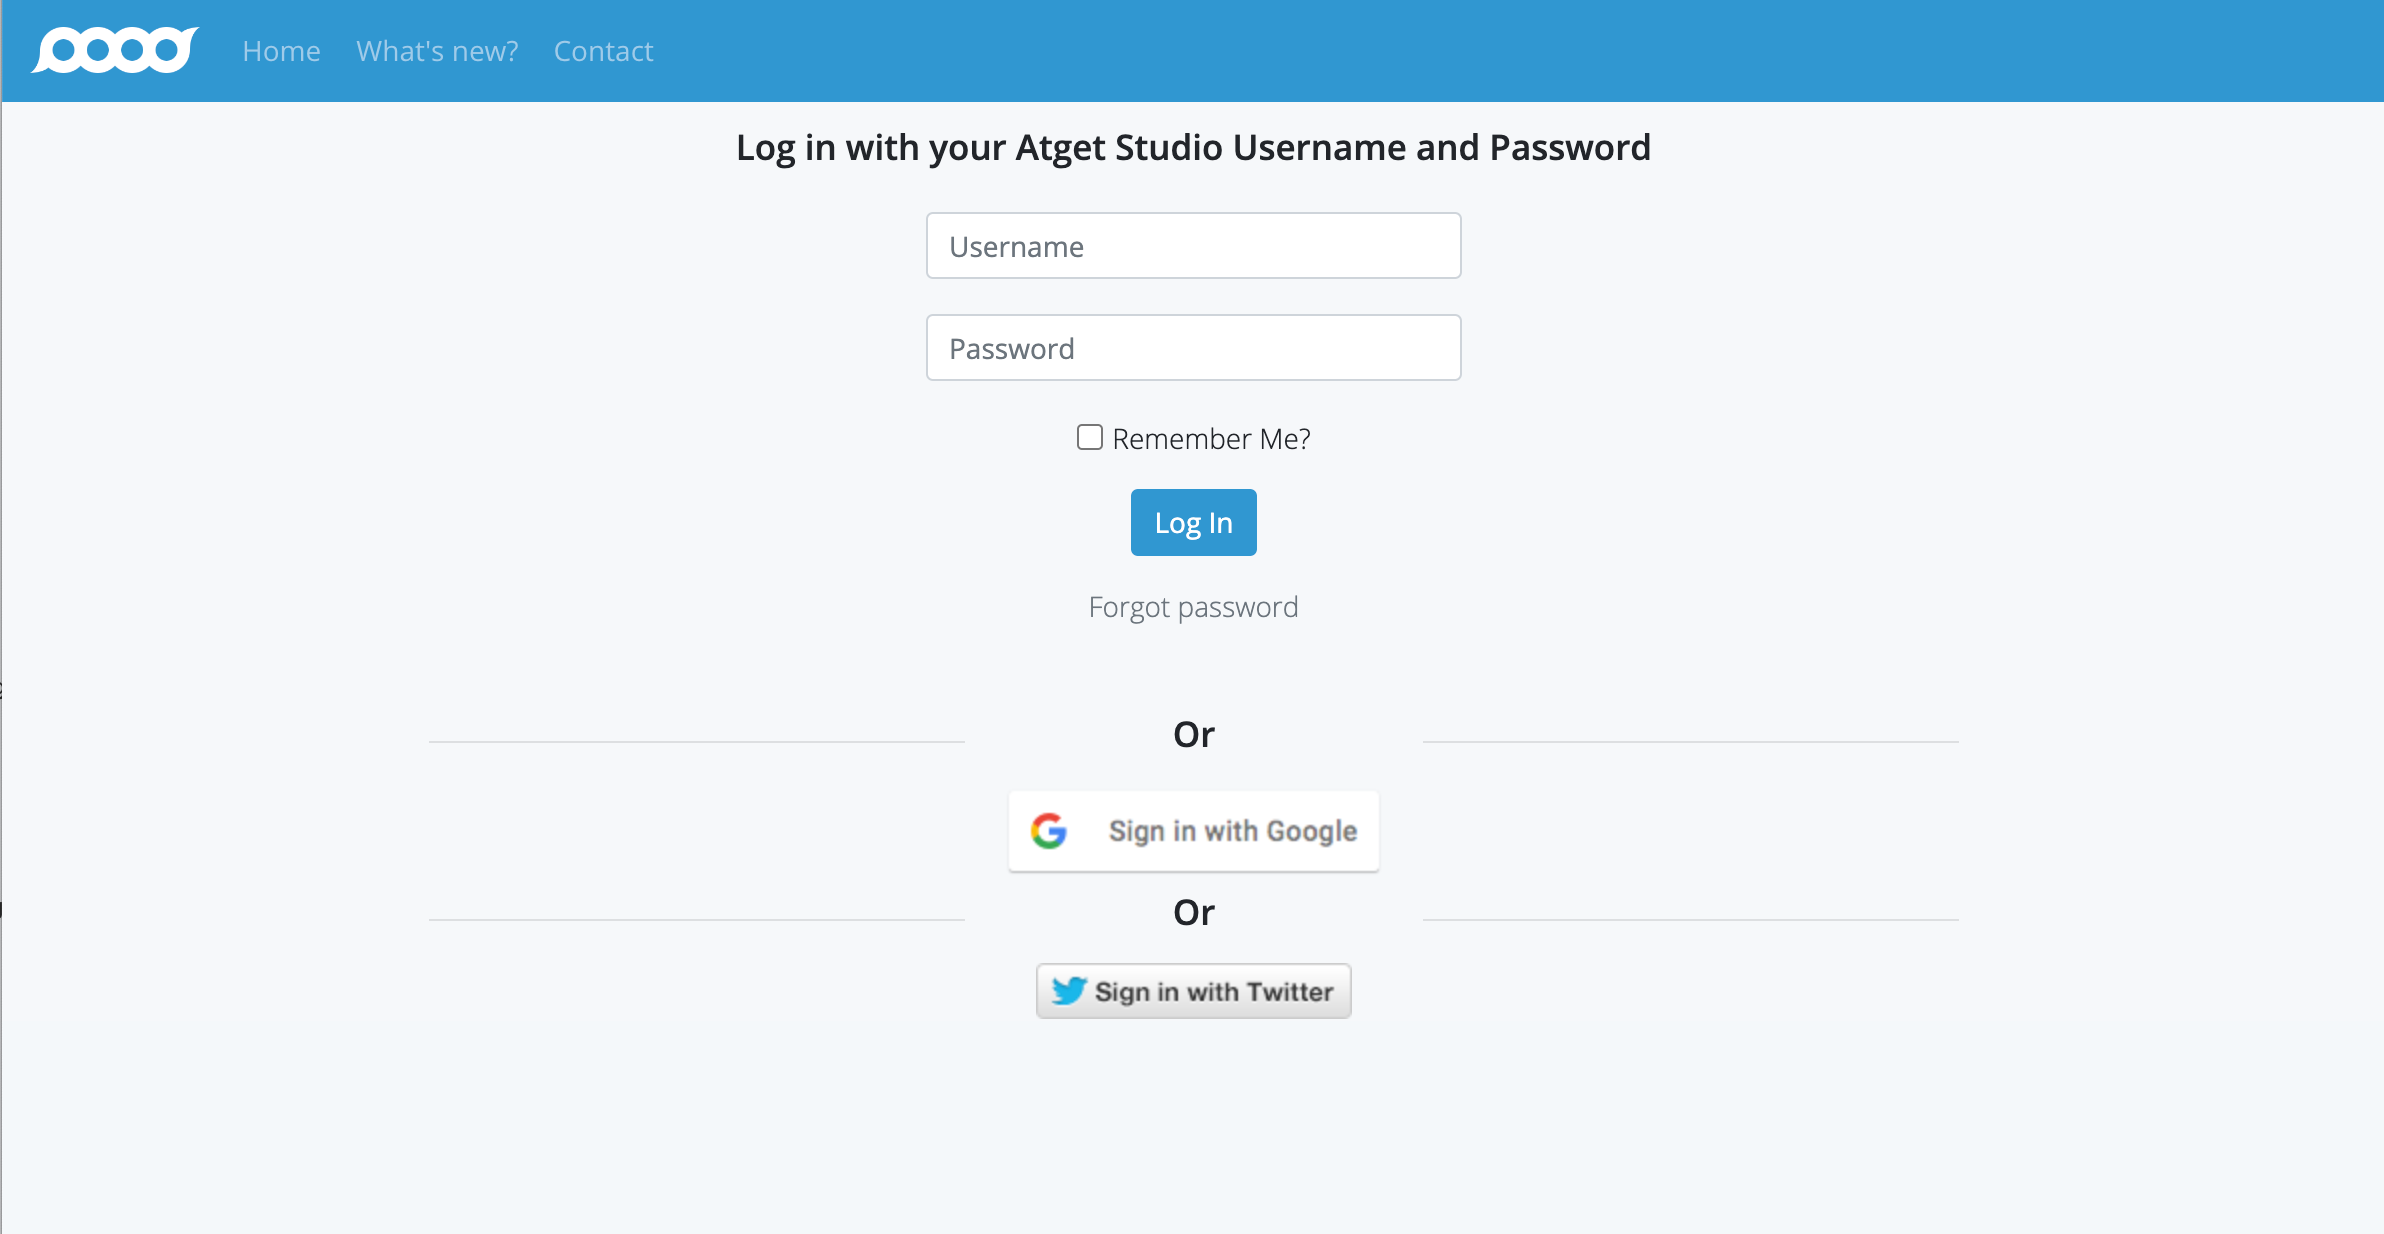
Enter your member name (usually your email address) and password, then click the "Log In" button. -
Navigate to Your Studio Walls: Once logged in, you'll see your Studio Page.
Click on the "My Studio Walls" tab to access your existing studio walls. -
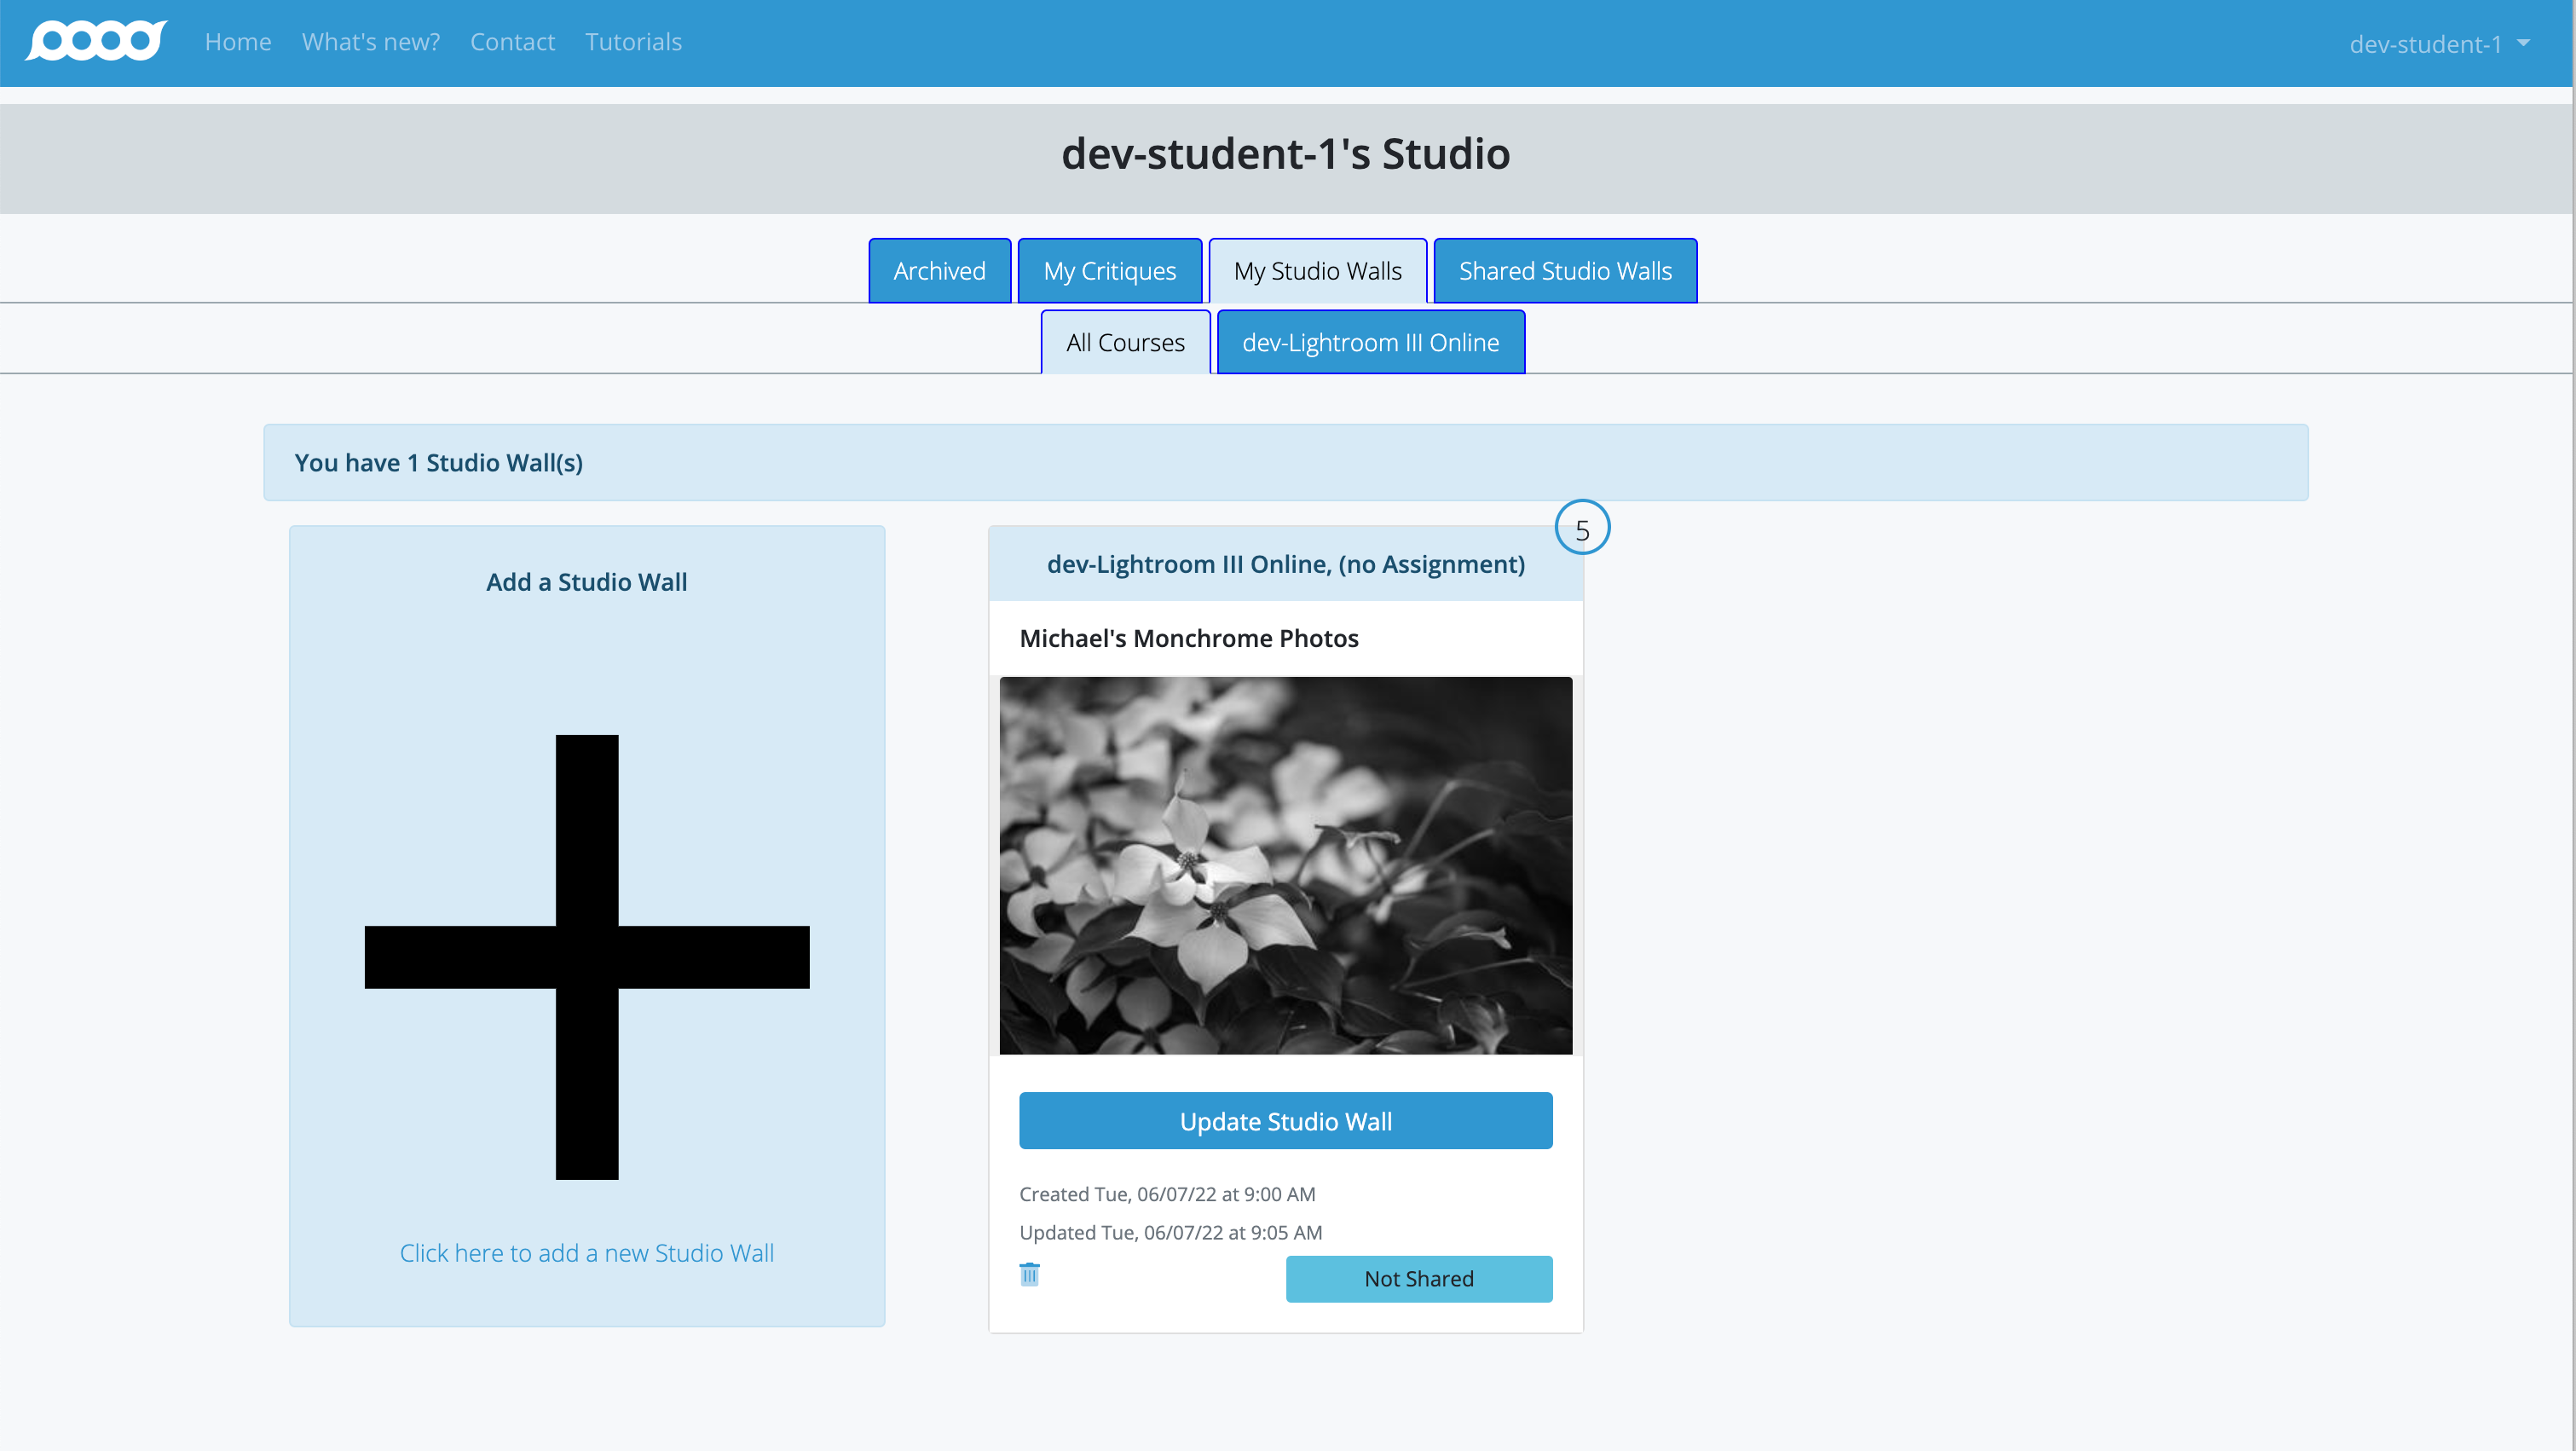
Select Your Course and Studio Wall: You'll see tabs for "All Courses" and individual course tabs.
In this example, there's one course: "dev-Lightroom III Online". The "All Courses" tab is selected (shown in light blue), displaying all Studio Walls across all courses.
You can see the Studio Wall "Michael's Monochrome Photos" with 5 photographs, indicated by the "5" in the upper right corner of the card.
To update a Studio Wall, click either the "Update Studio Wall" button or click directly on the image on the card. -
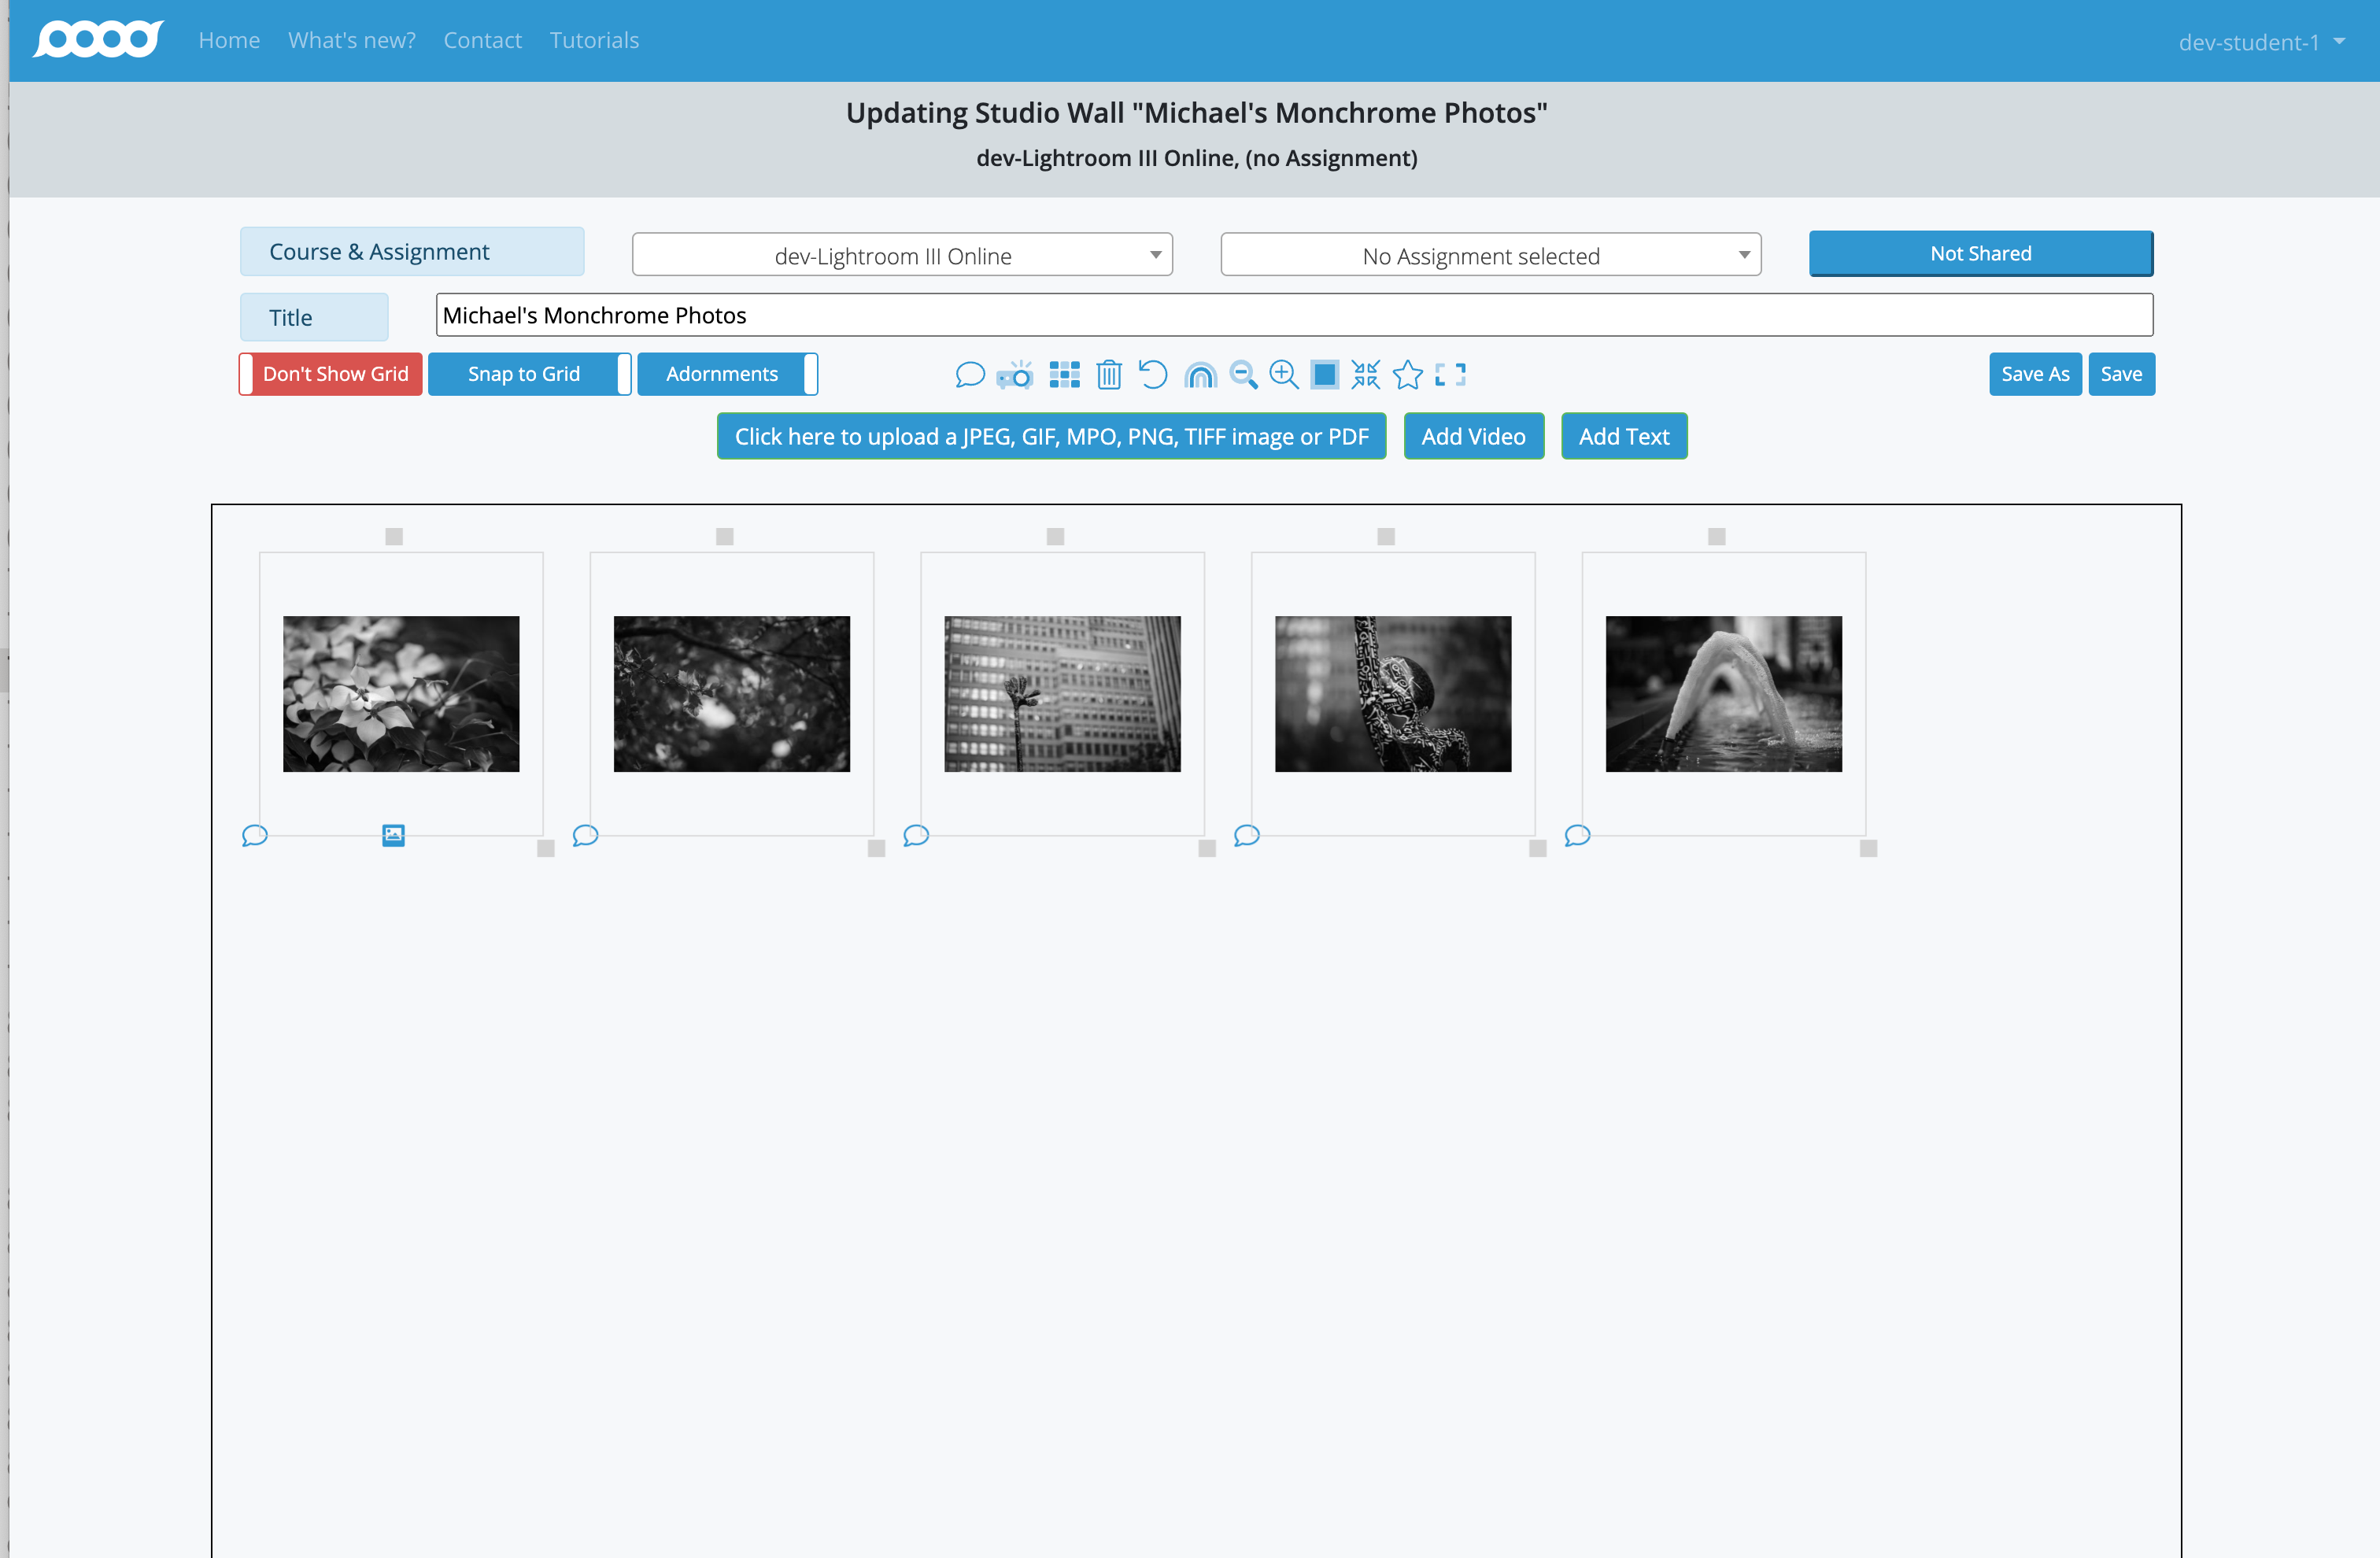
Access the Update Interface: When you click to update, the Studio Wall editing page will appear.
This interface allows you to make various changes to your Studio Wall. In this tutorial, we'll cover three main operations:- Deleting photographs - Remove unwanted images
- Moving photographs - Rearrange the layout
- Resizing photographs - Adjust image sizes
-
Delete a Photograph: To remove a photograph from your Studio Wall, follow these steps:
- Position Your Mouse: Move the mouse over the photograph you want to delete.
- Right-Click for Context Menu: Right-click on the photograph, or if you have a trackpad, hold down the "CTRL" key and click.
-
Select Delete Option: A dropdown menu will appear with the photograph's filename at the top and various menu options.

Move the mouse down to the "Trash" selection and click it to delete the photograph.
-
Photograph Deletion Result: After clicking "Trash," the photograph will be immediately removed from the Studio Wall.
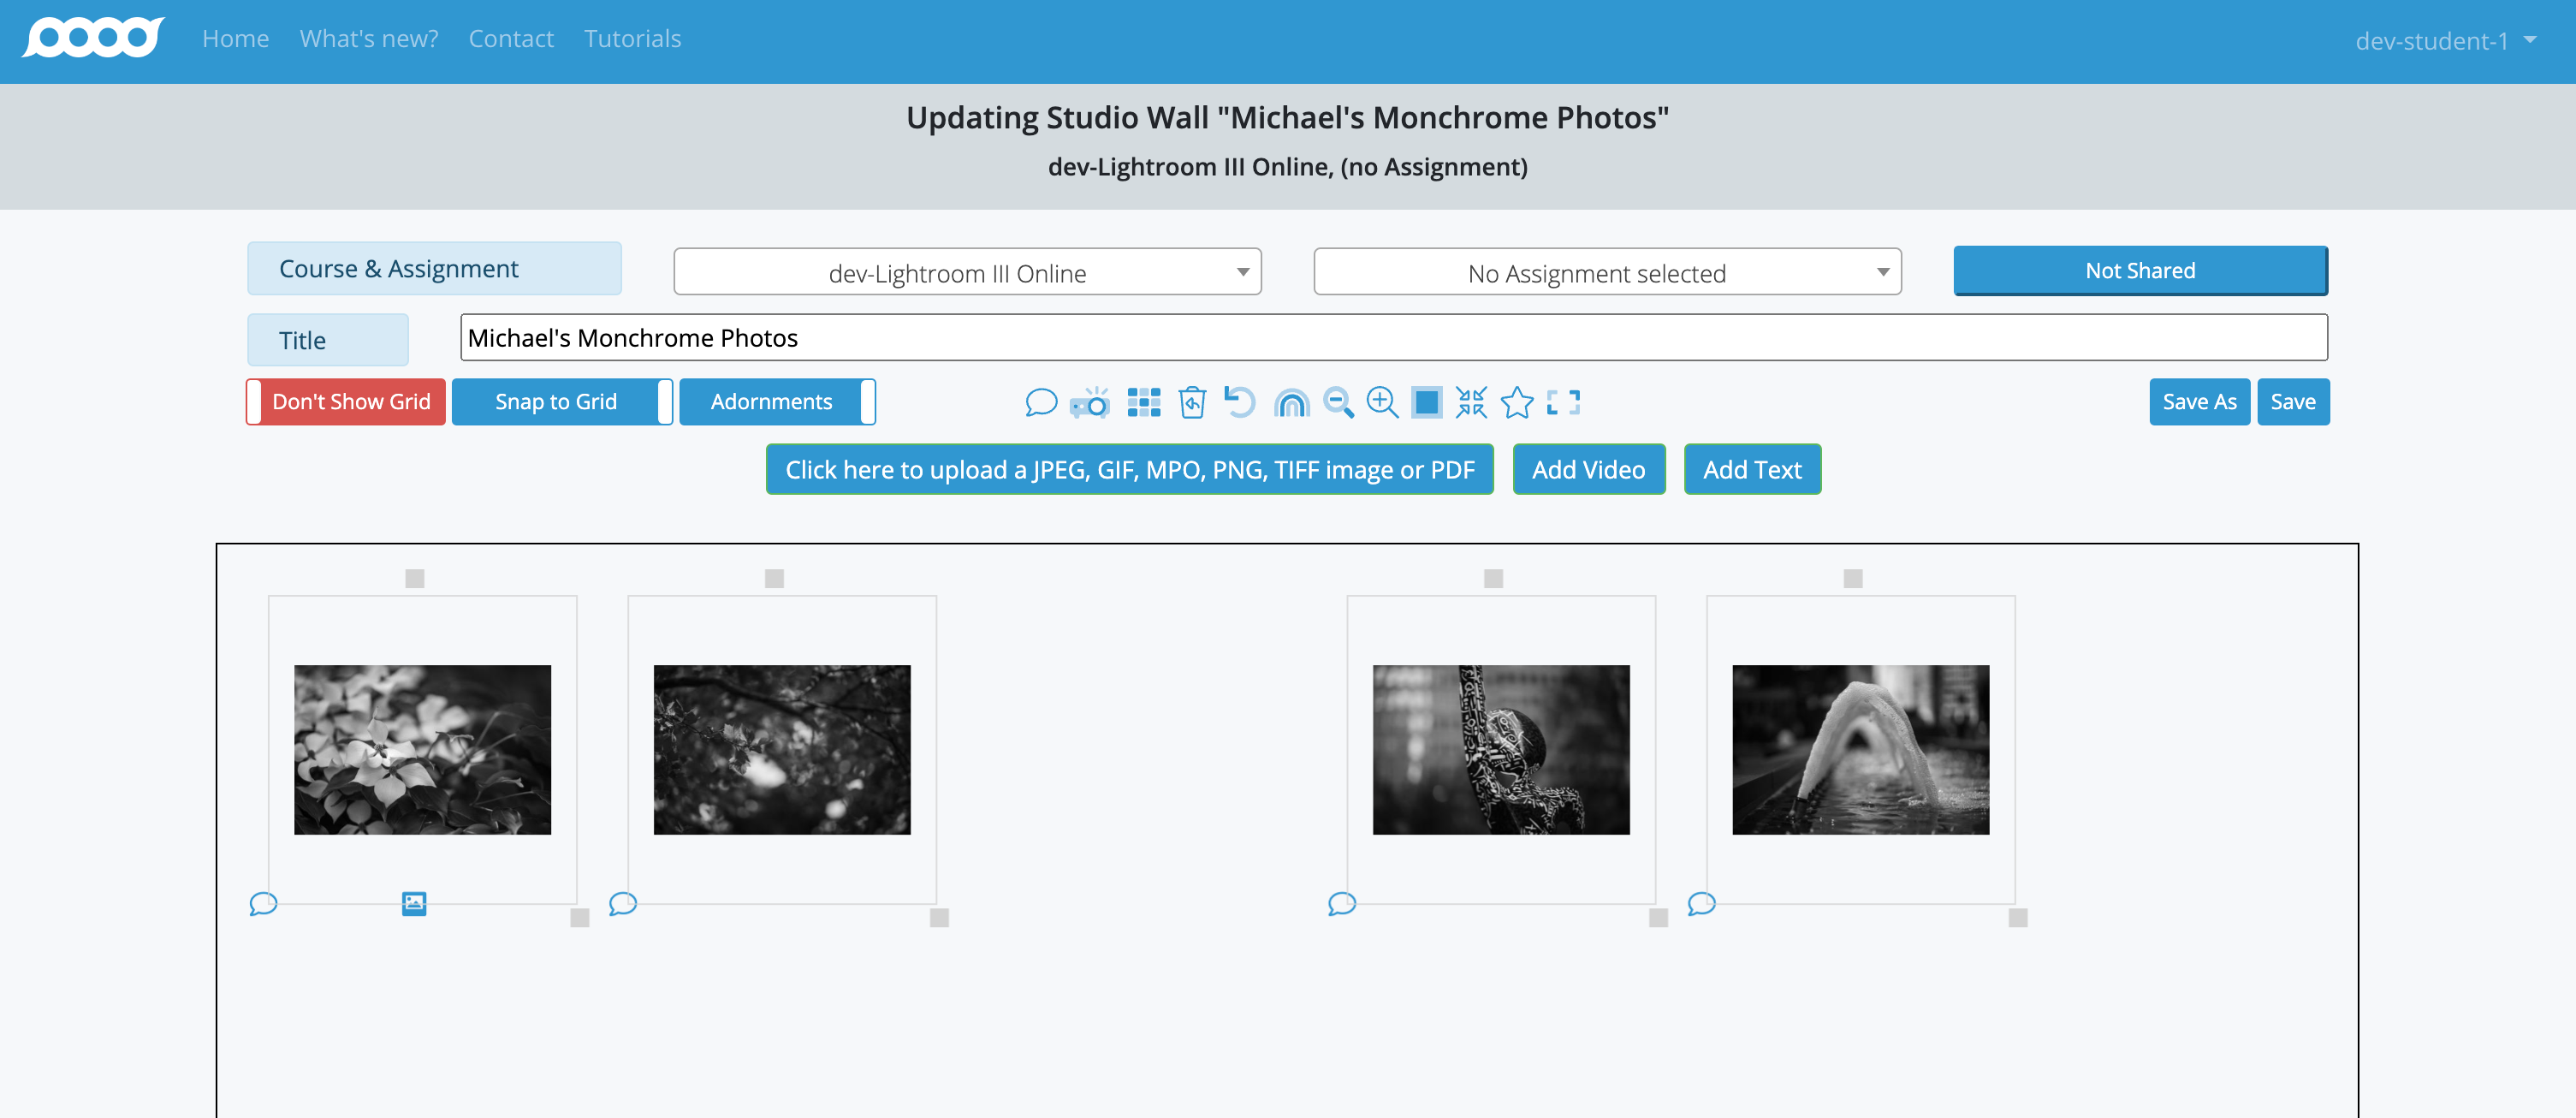
As you can see, the photograph has been deleted and the remaining images have maintained their positions. -
Use Undo Functionality: If you accidentally delete a photograph or want to reverse any action, Atget Studio provides an undo feature.
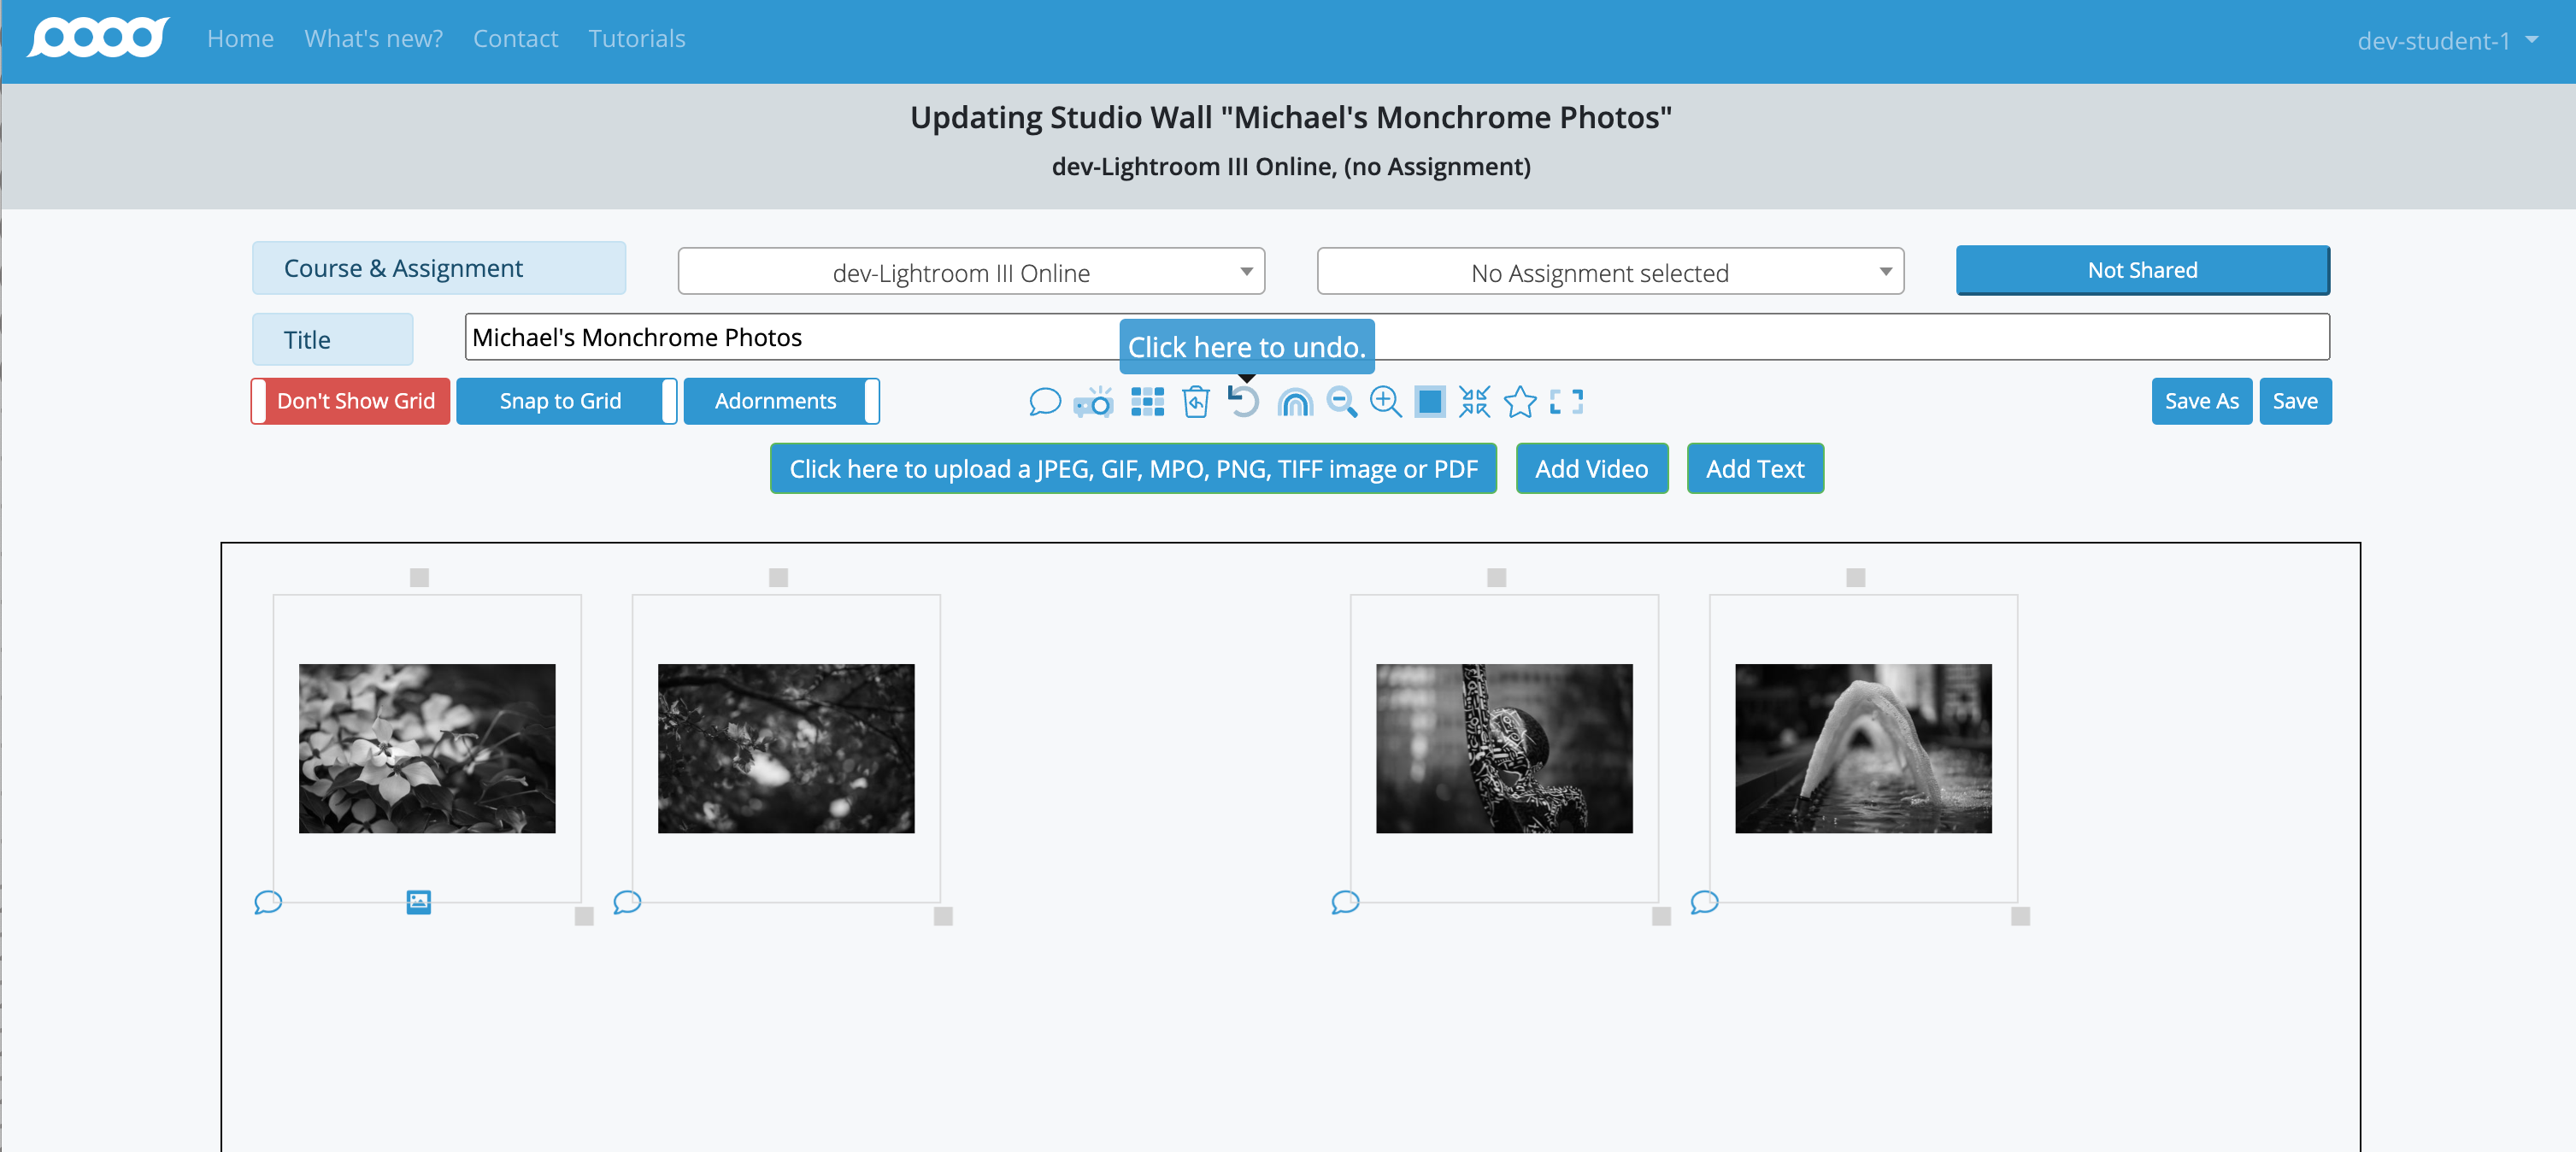
Click on the "Undo" icon () to reverse your last action.
The photograph will reappear in its original position, exactly as it was before deletion. -
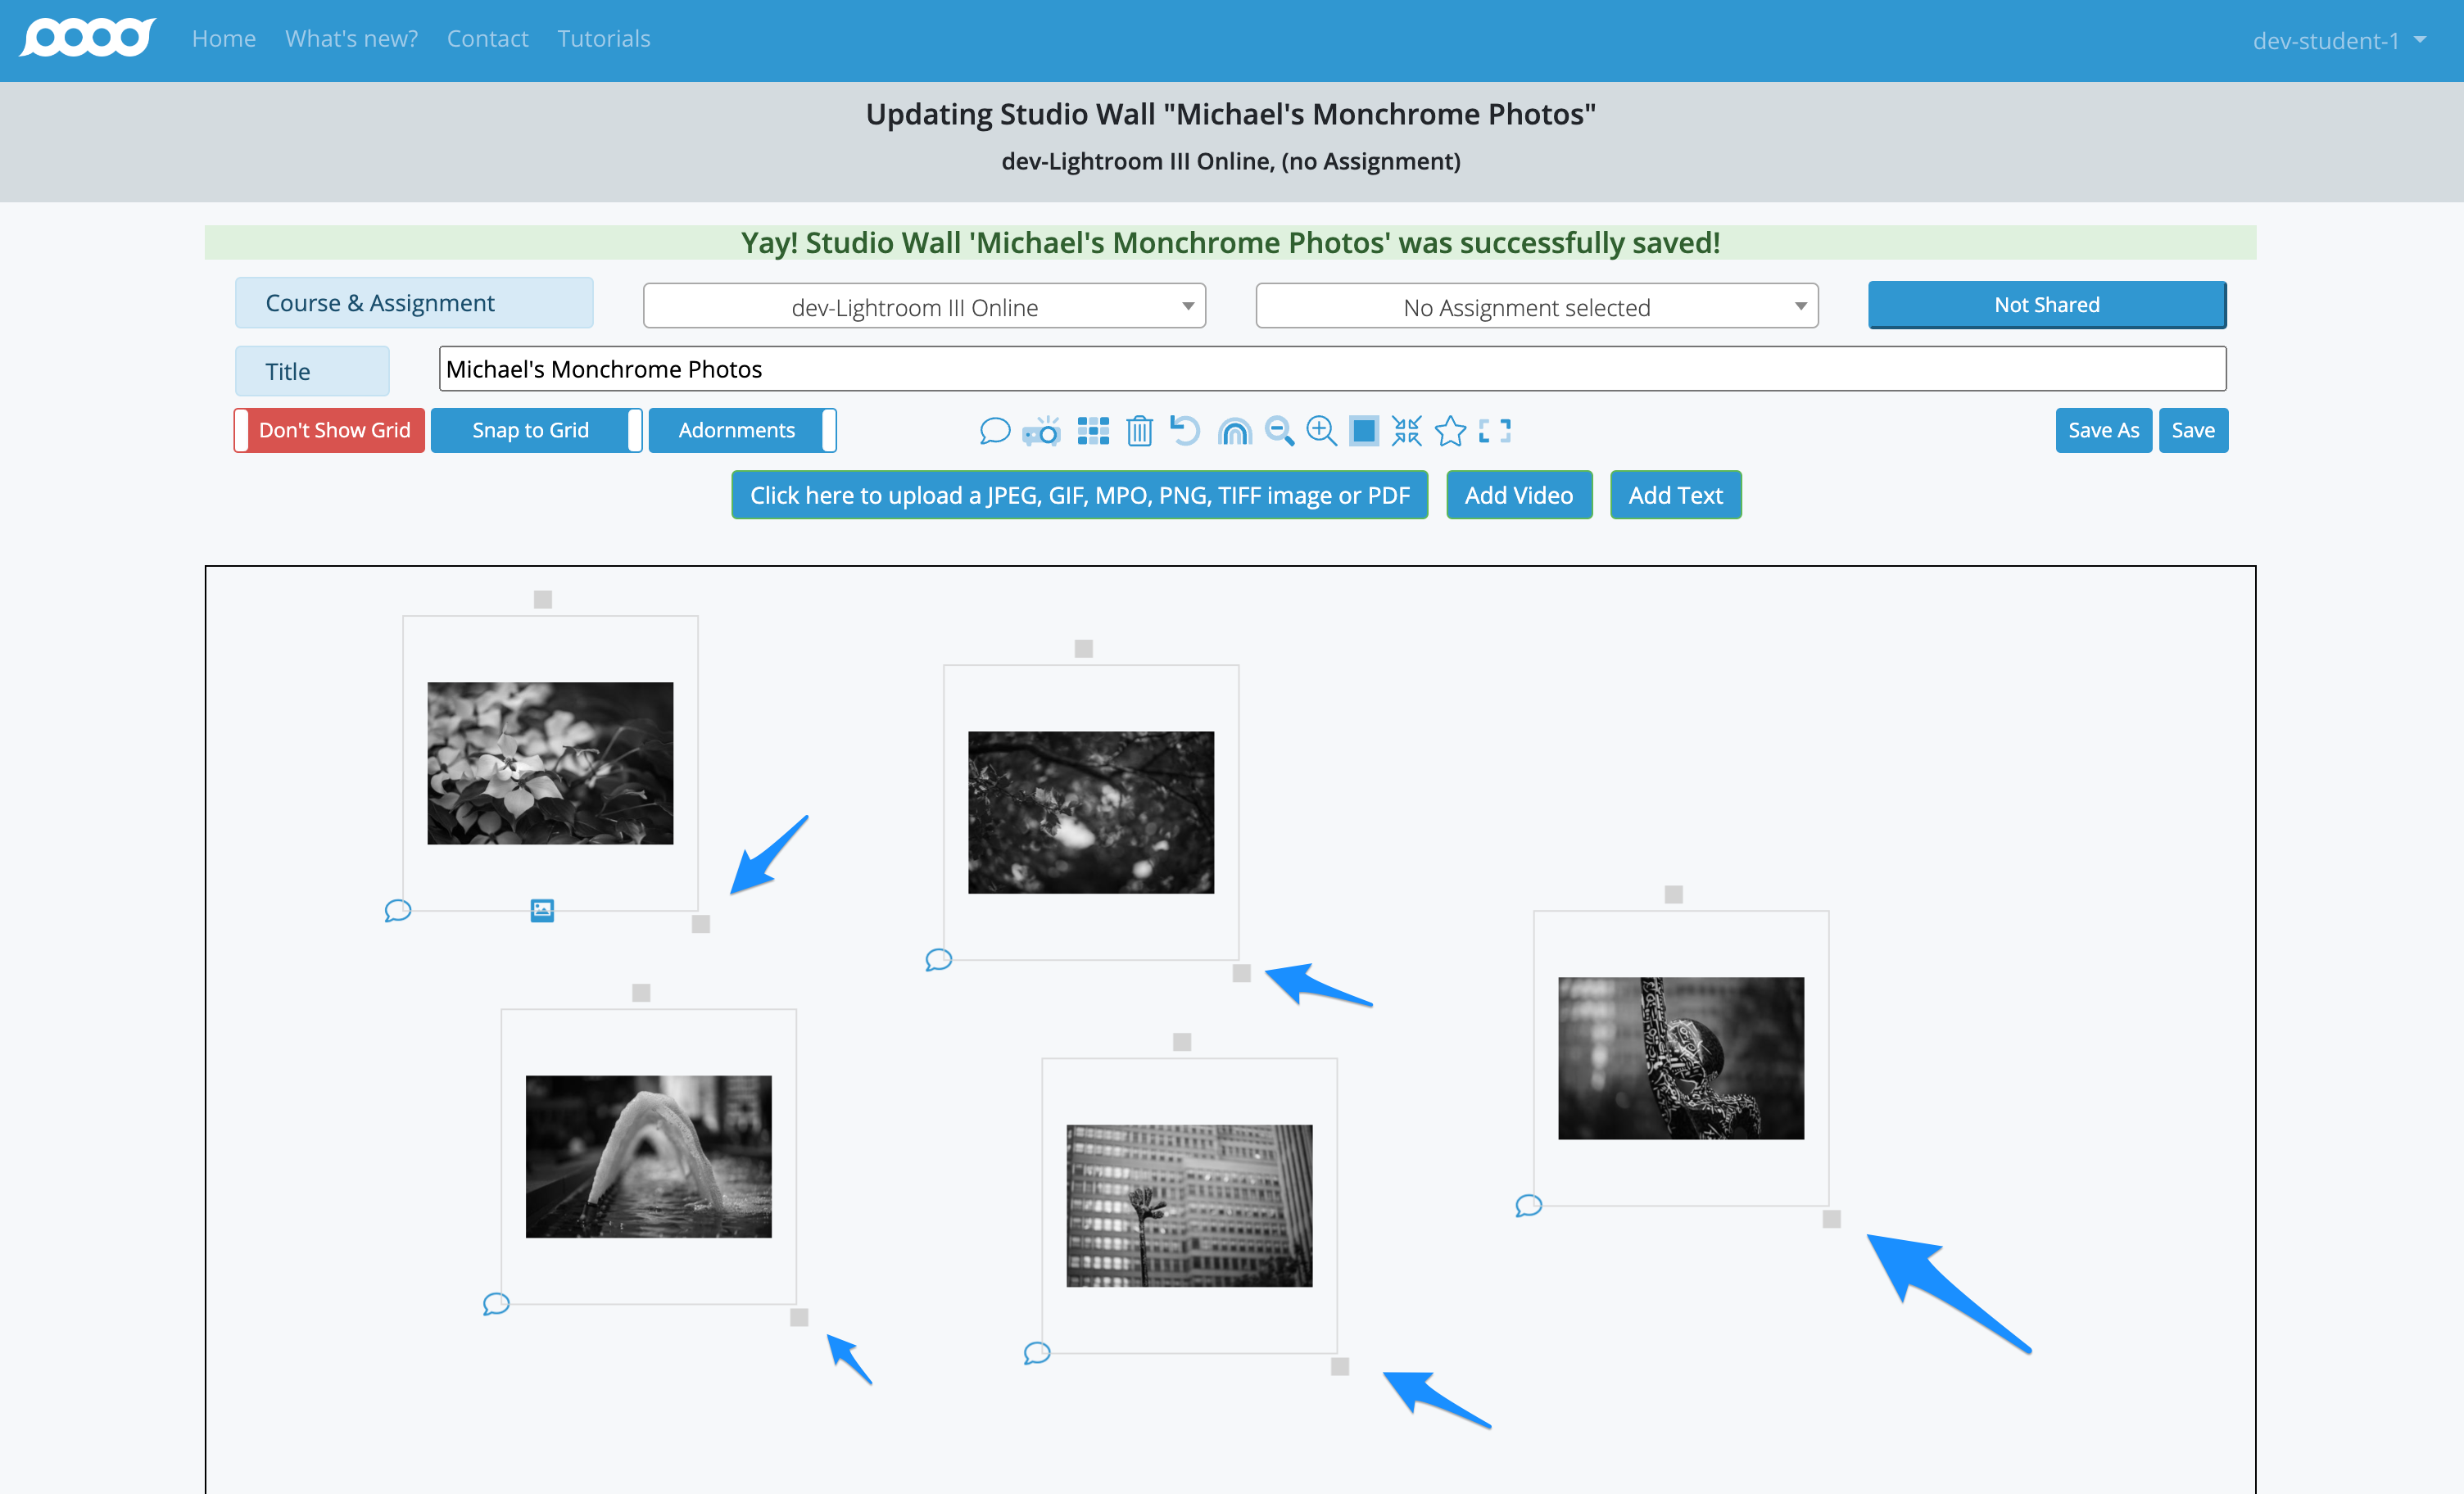
Move Photographs Around: You can easily rearrange photographs on your Studio Wall using drag and drop.
- Position the Mouse: Move your mouse over the photograph you want to move
- Click and Hold: Left click on the photograph and hold the mouse button down
- Drag to New Position: Drag the photograph to wherever you want it positioned
- Release to Place: Release the mouse button to place the photograph in its new location
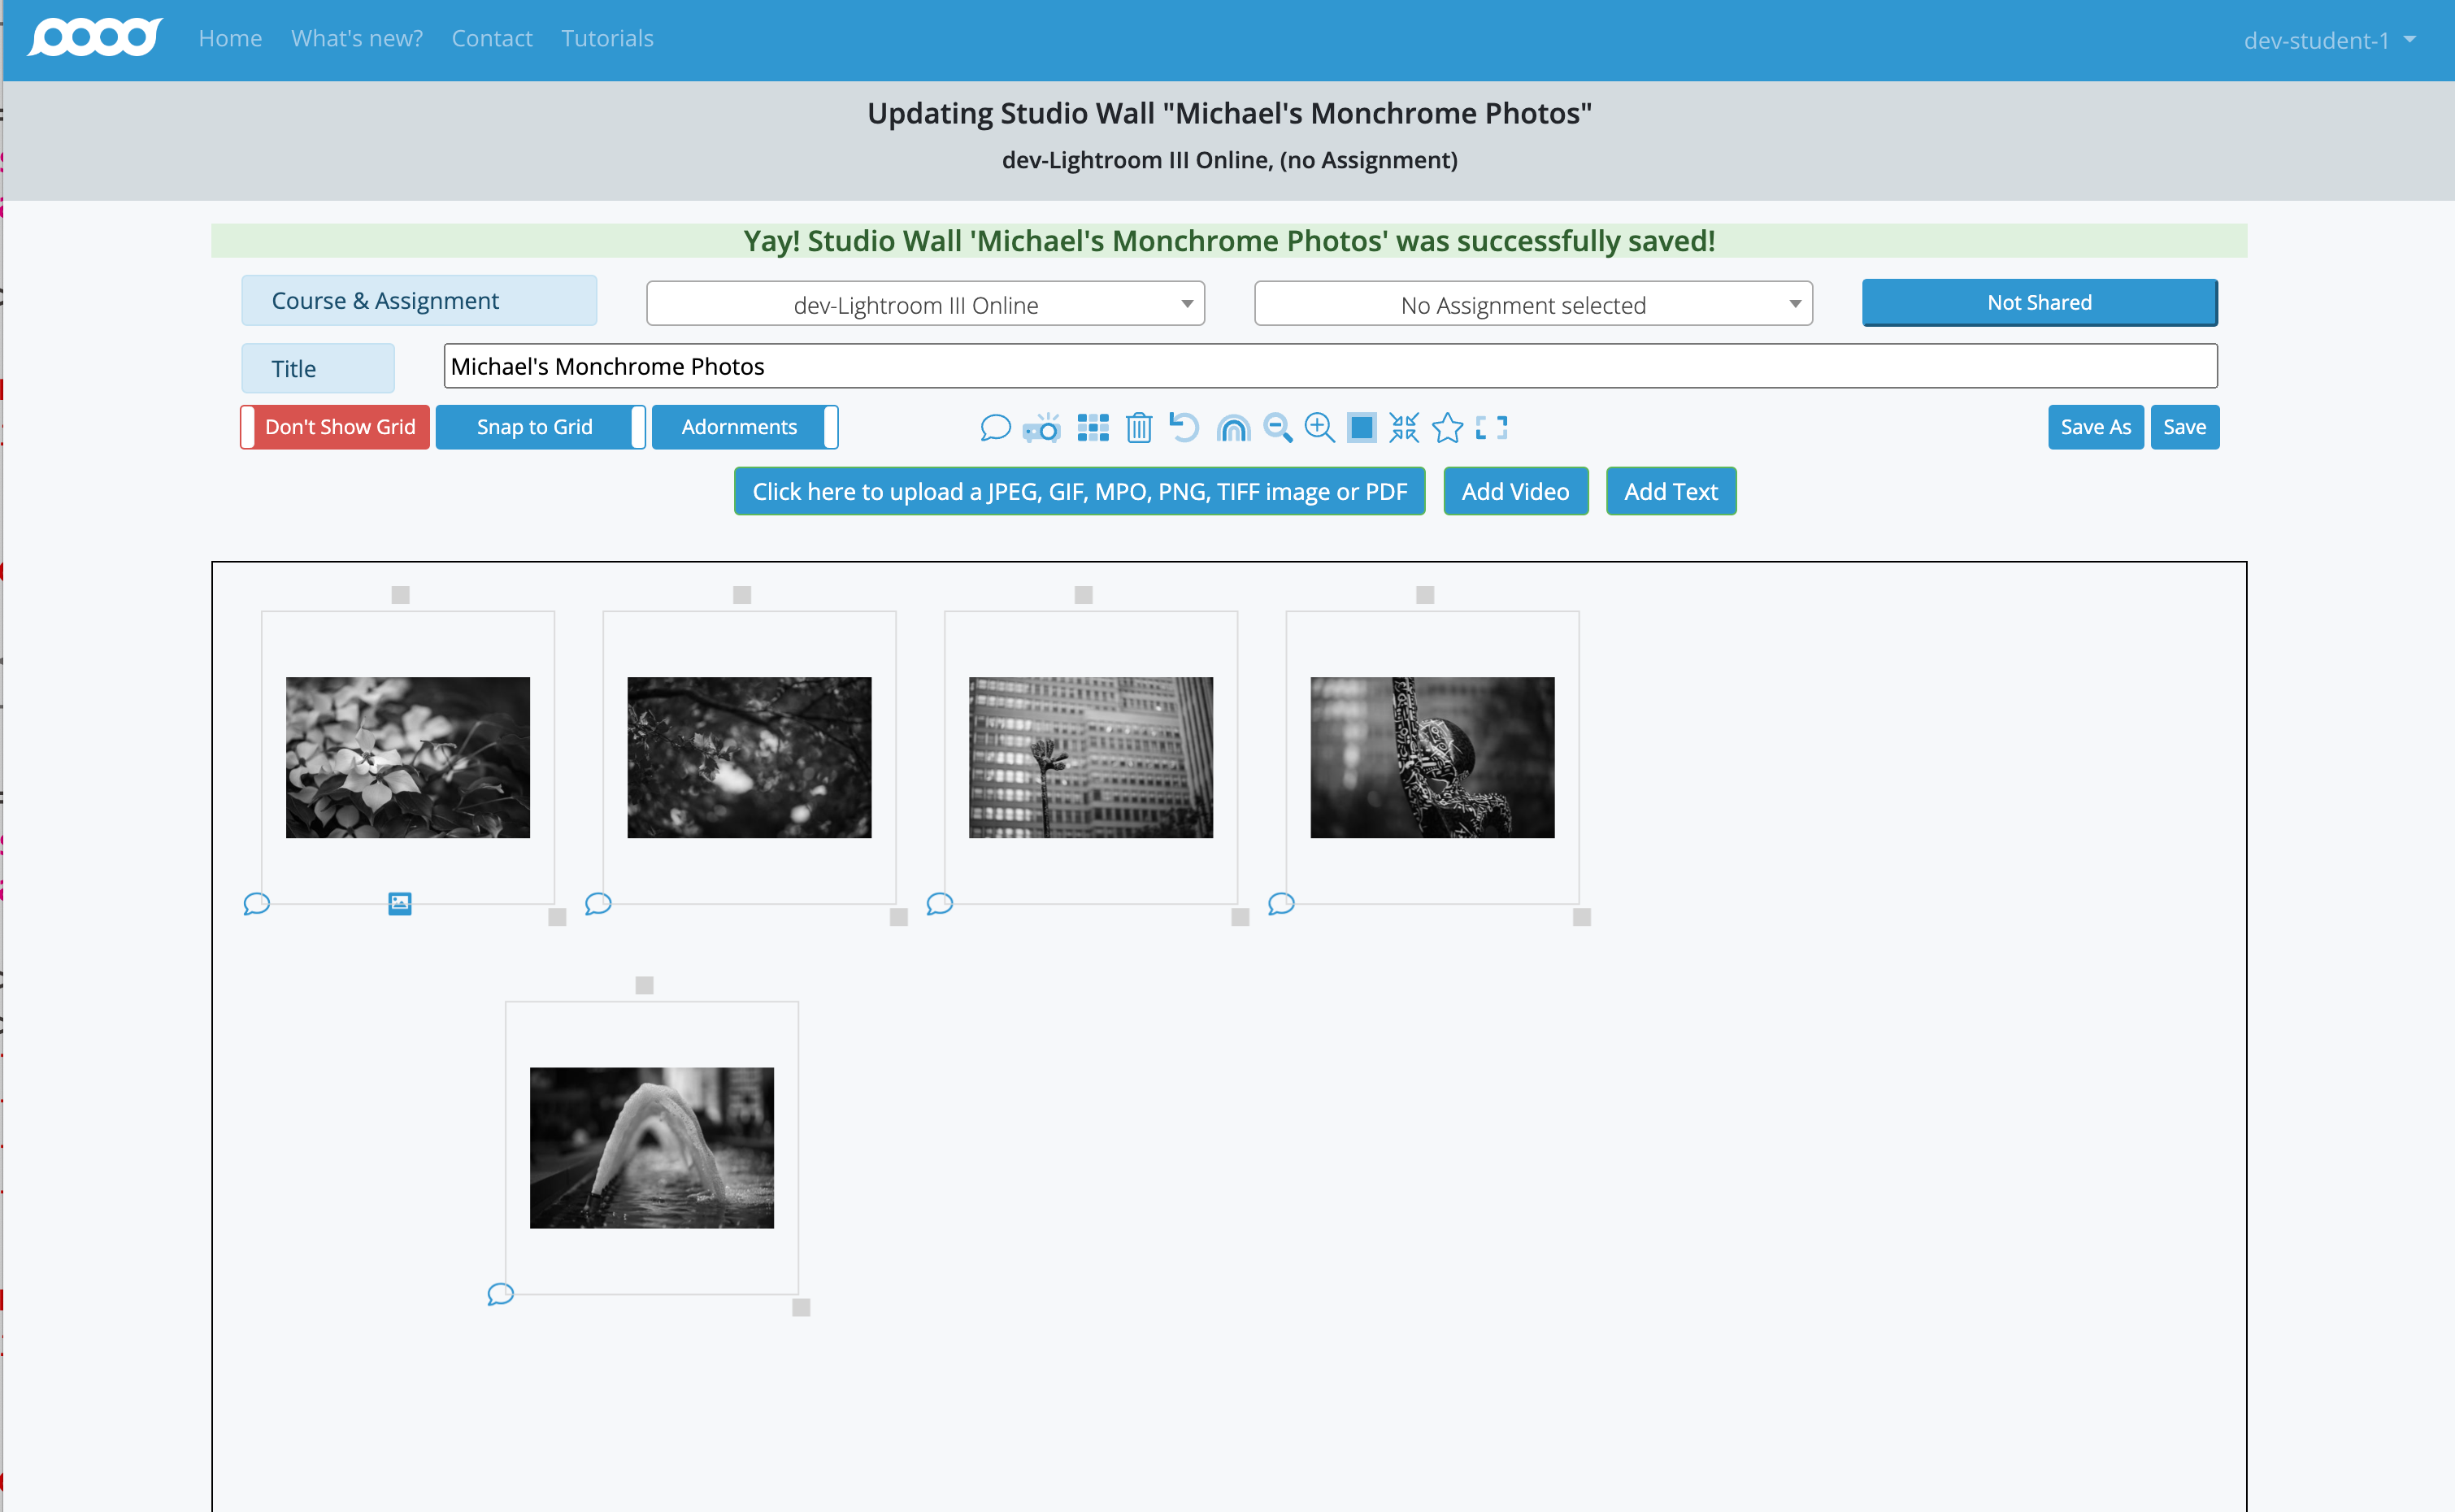
Continue moving photographs as needed to create your desired layout.
-
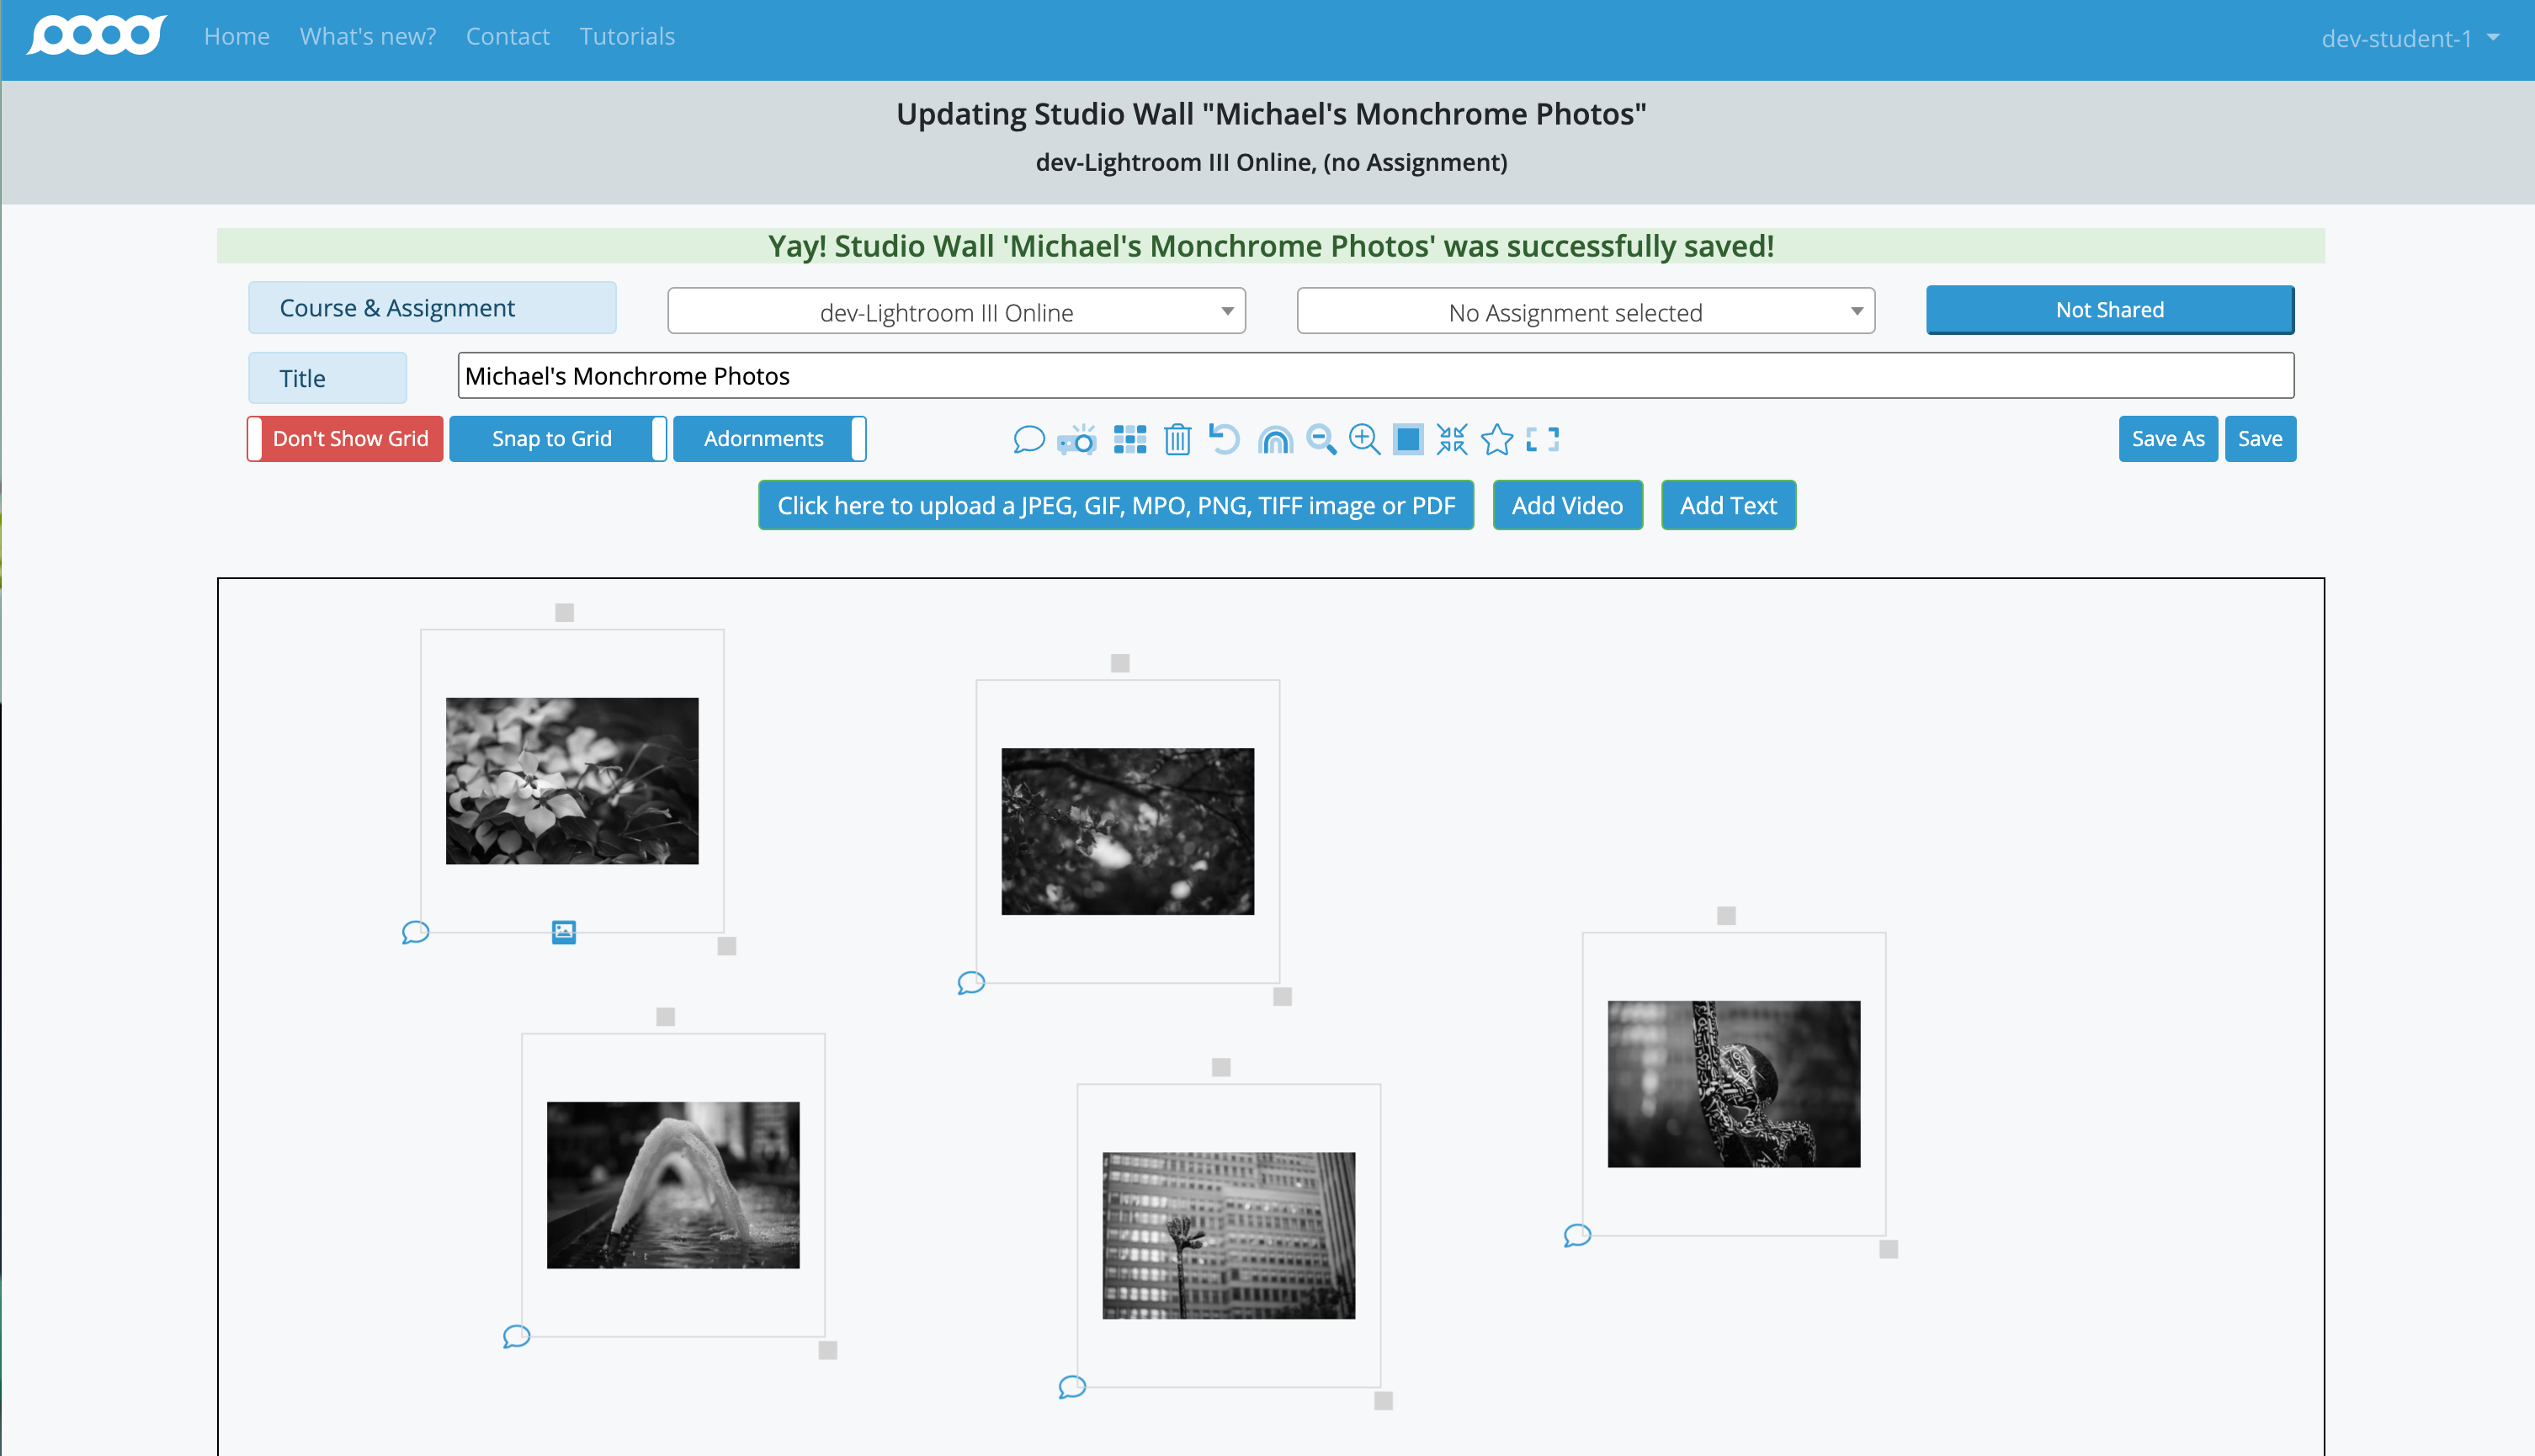
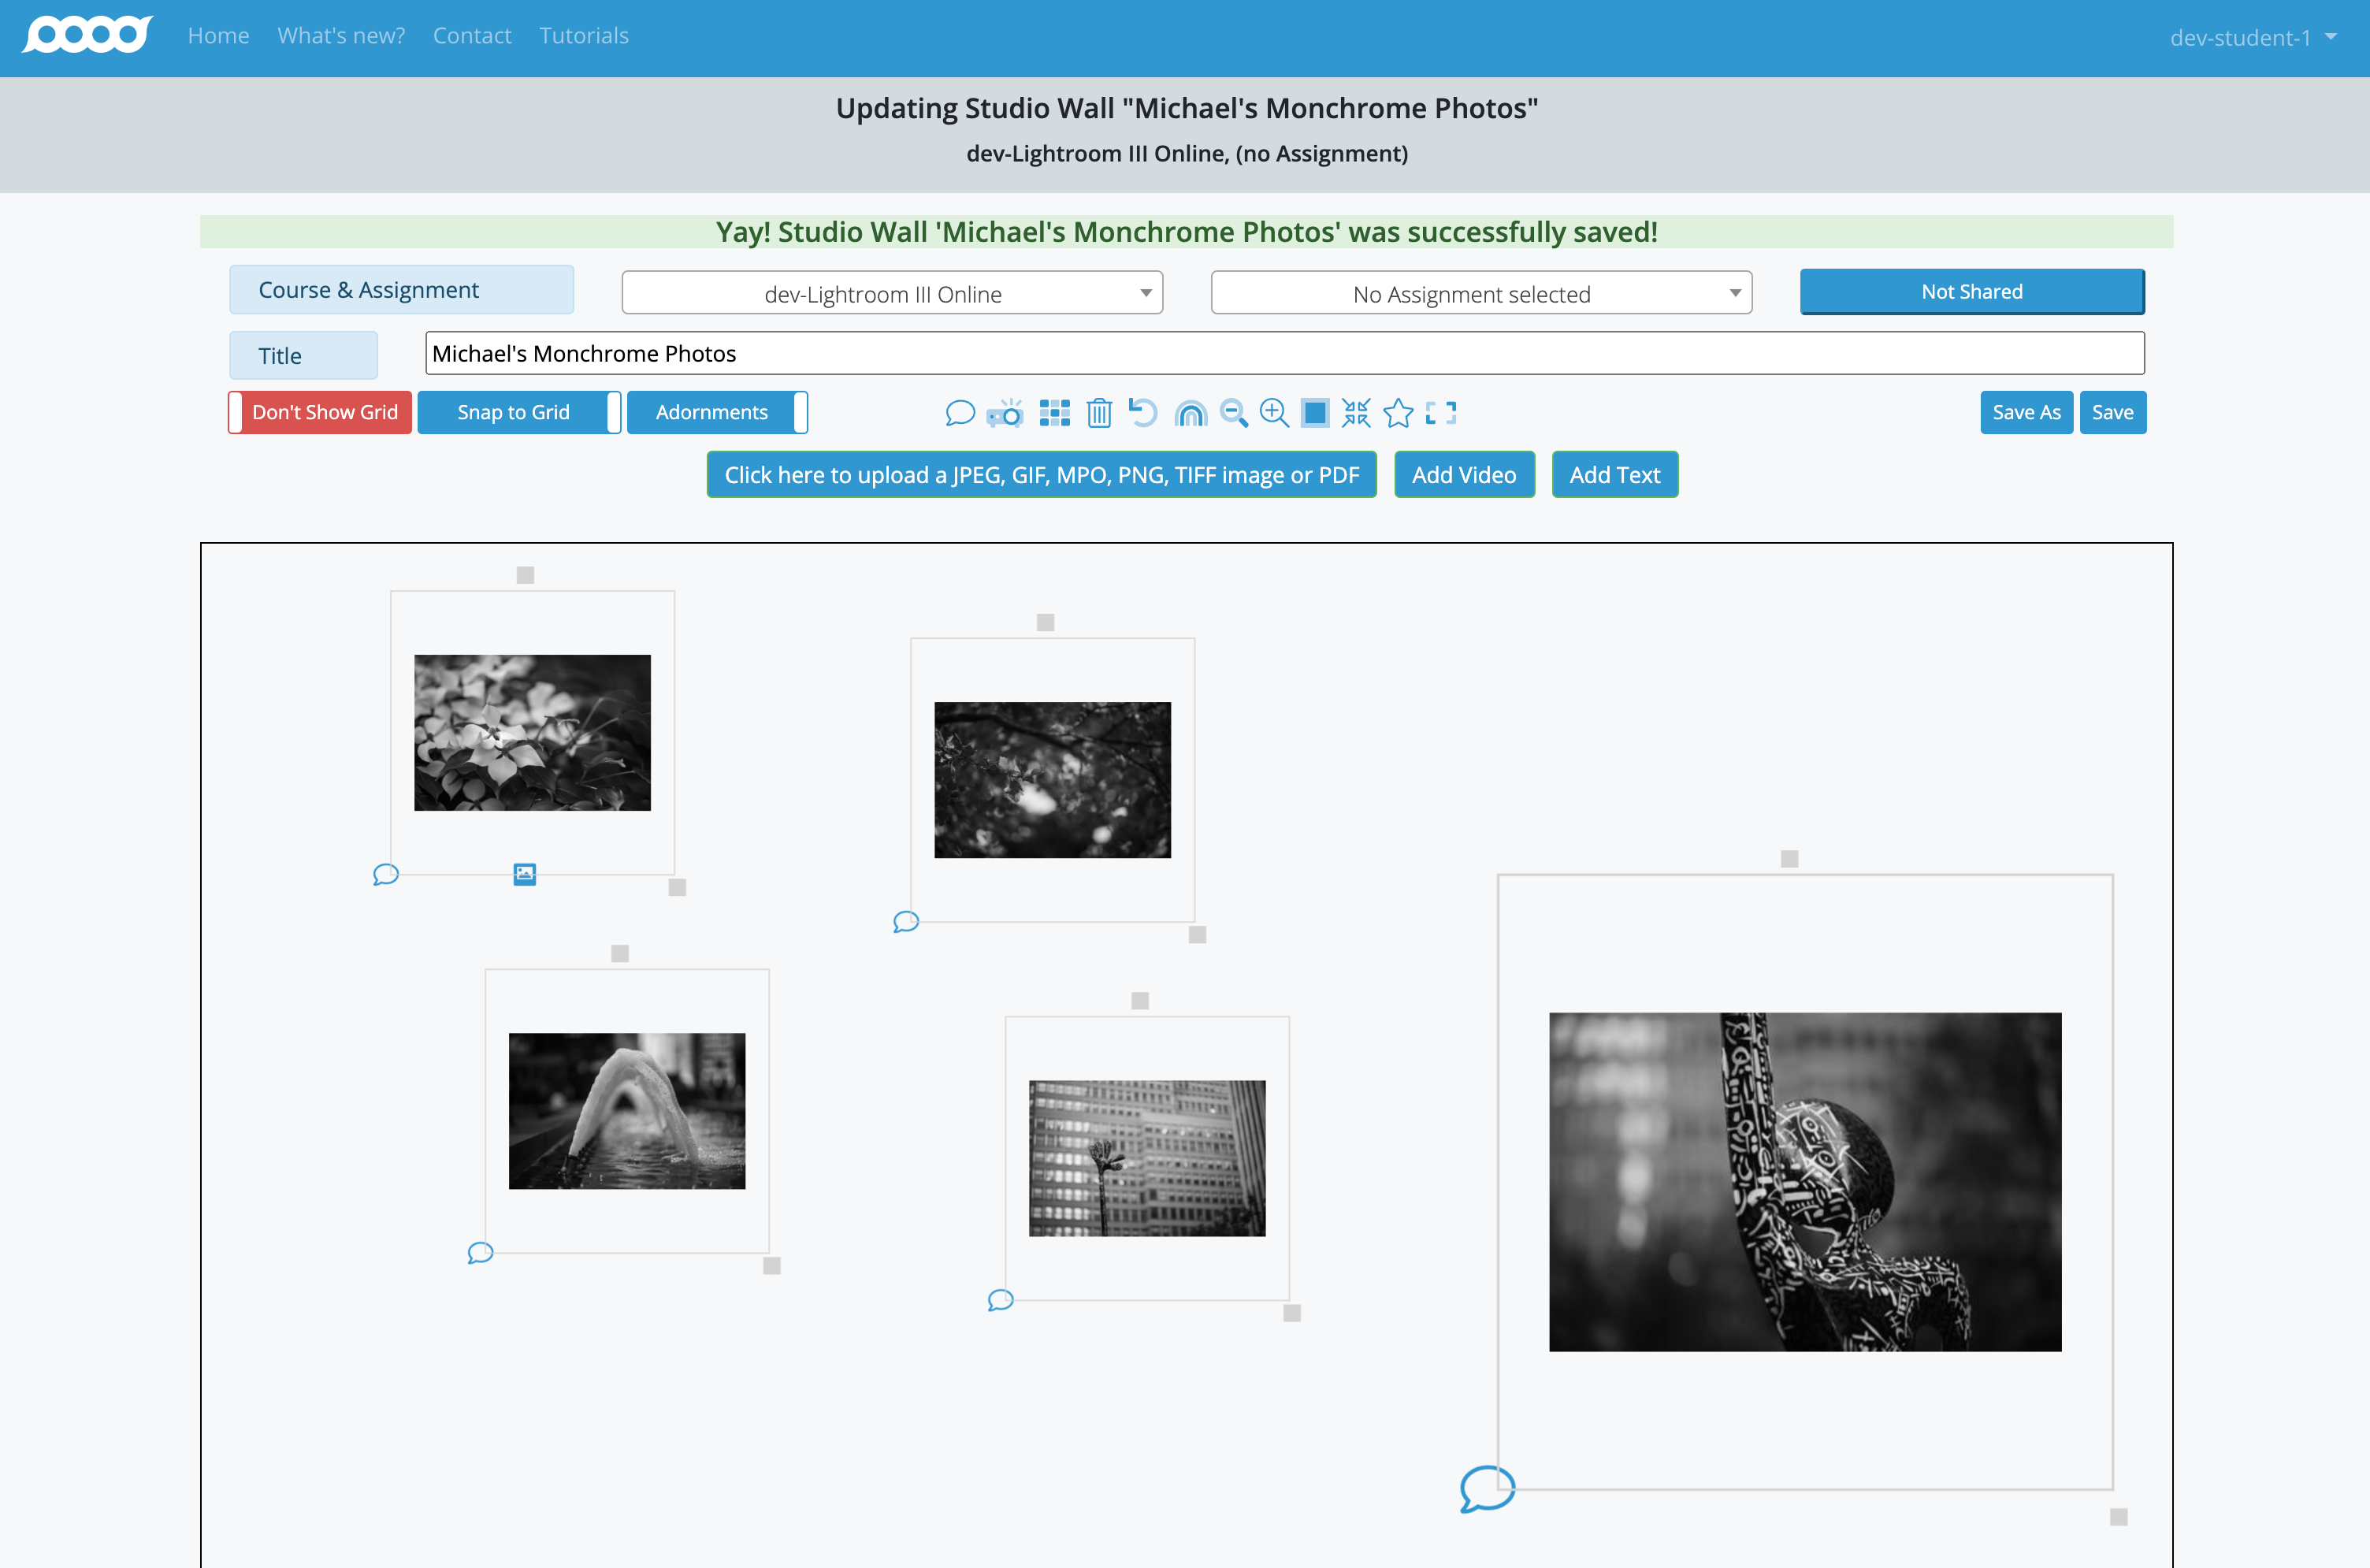
Resize Photographs: You can adjust the size of individual photographs using the resize handle.
- Locate the Resize Handle: Each photograph has a small square in the lower right corner called a "resize handle"
- Mouse Pointer Changes: As you move the mouse over the handle, the pointer will change to a diagonal double-headed arrow
- Click and Drag: Click on the handle, hold the mouse down, and drag to resize the photograph
- Release When Satisfied: When the photograph reaches your desired size, release the mouse button
-
Save Your Changes: Always remember to save your work when you're satisfied with your modifications.
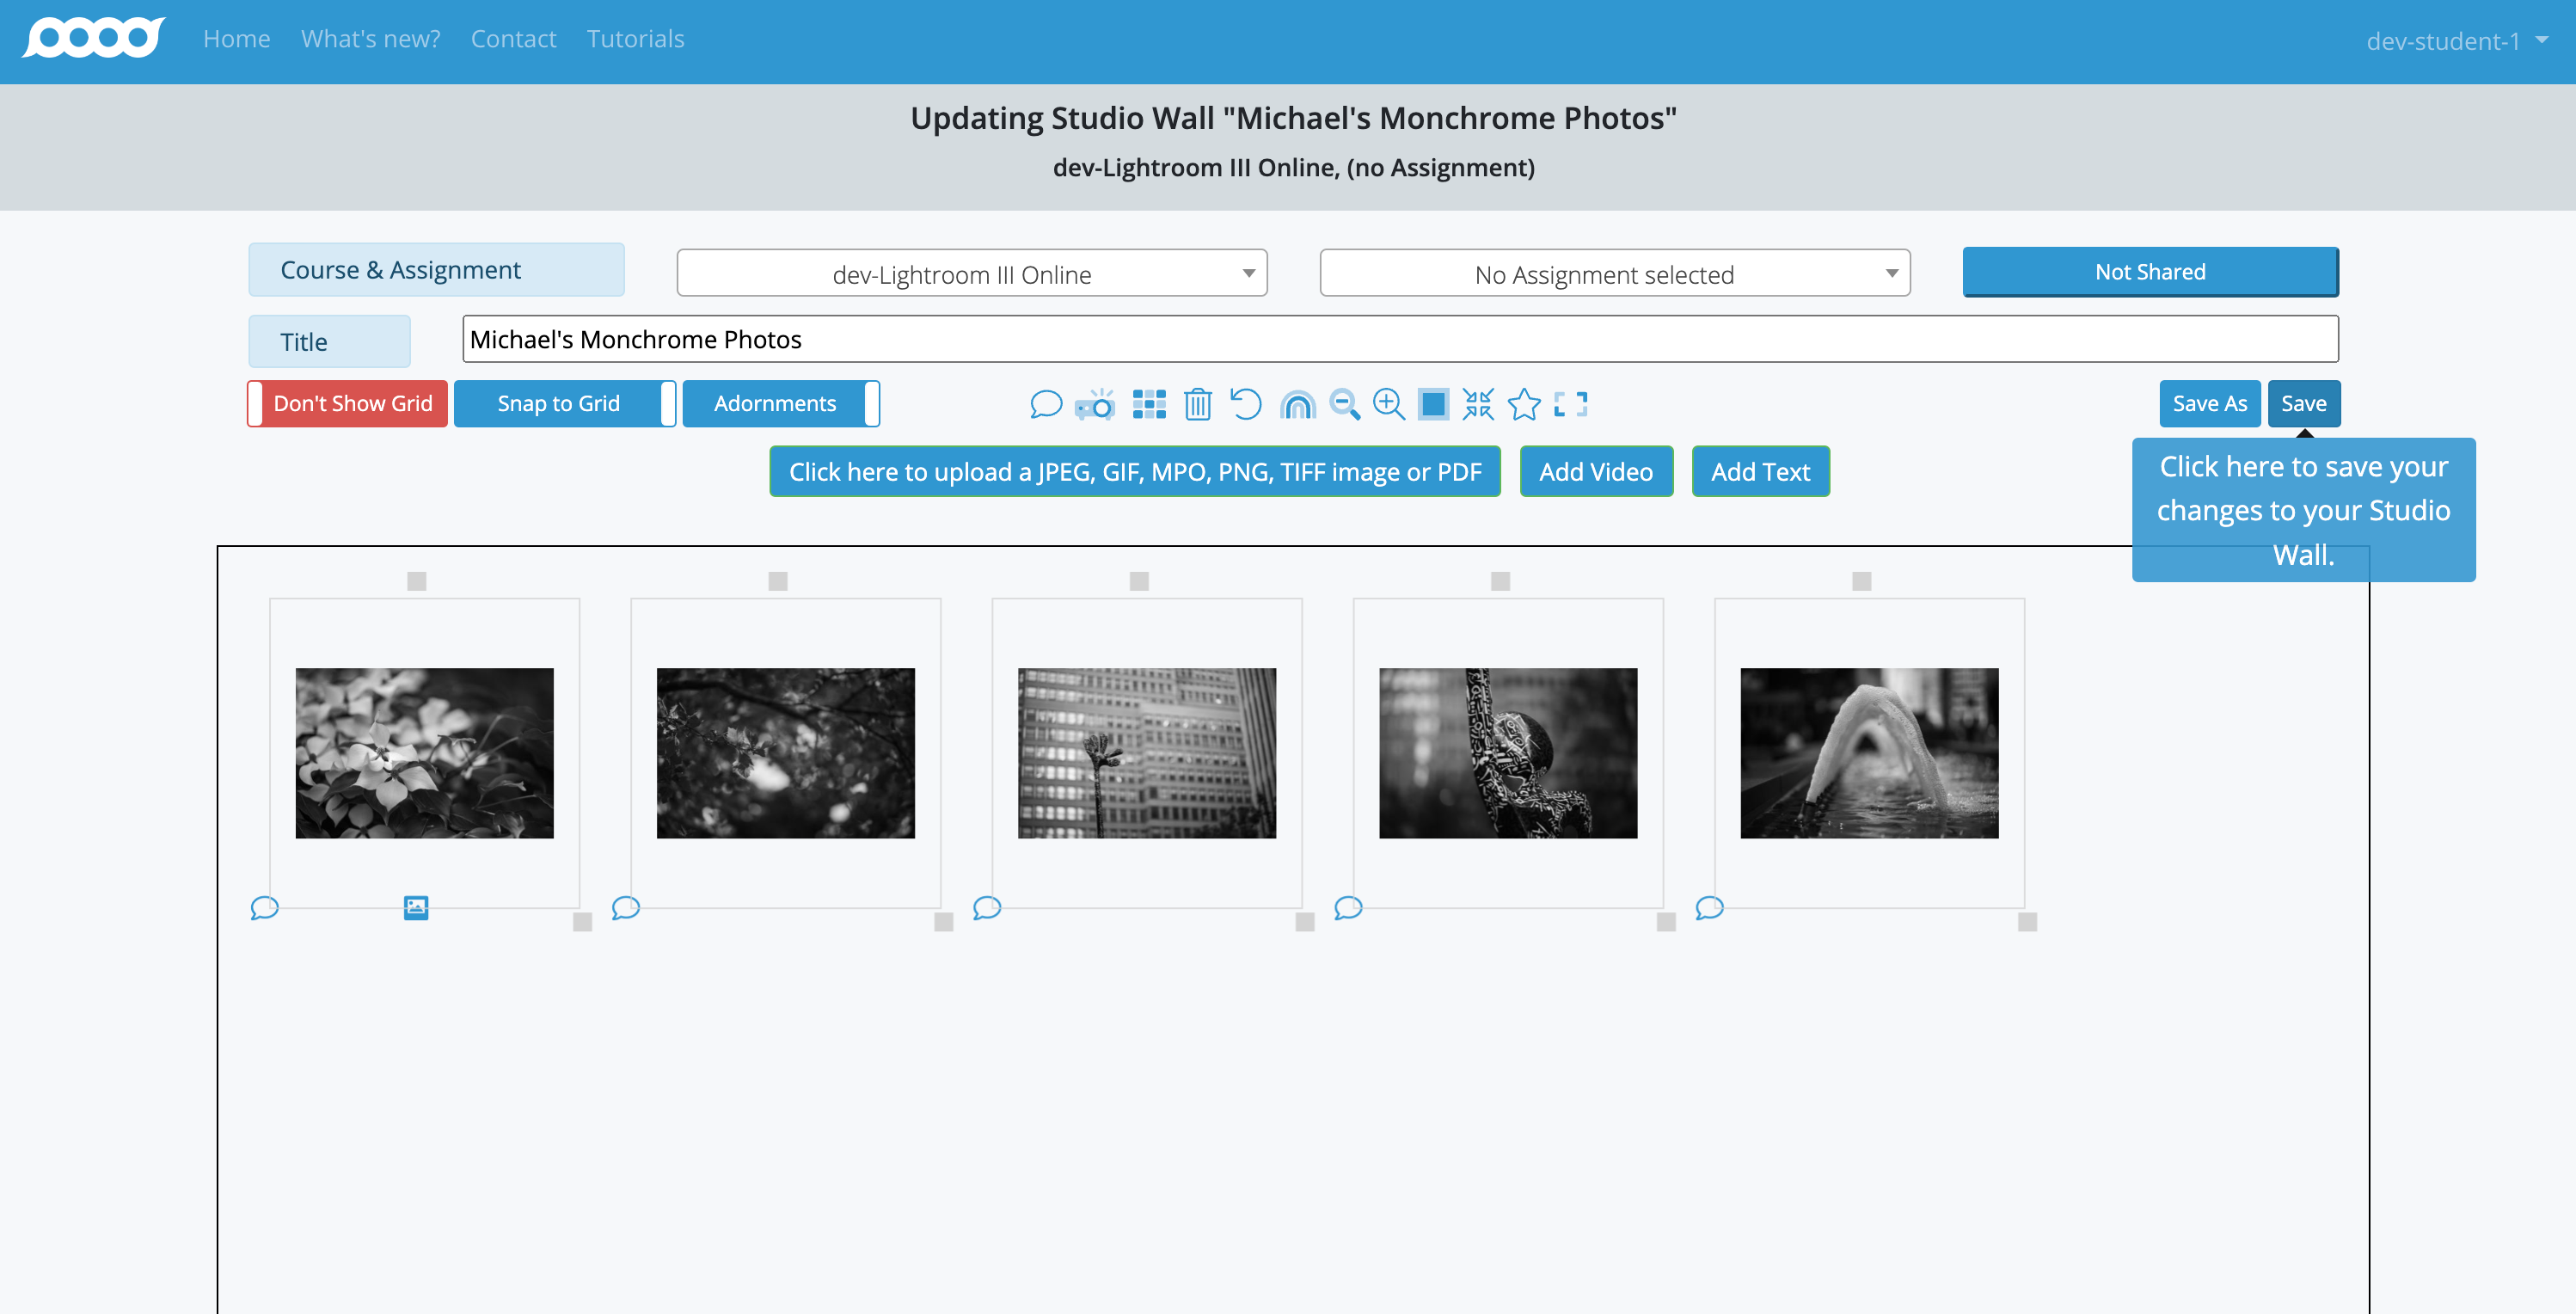
Click the "Save" button in the upper right-hand corner whenever you're ready to preserve your changes.
It's good practice to save regularly while working to avoid losing your modifications. -
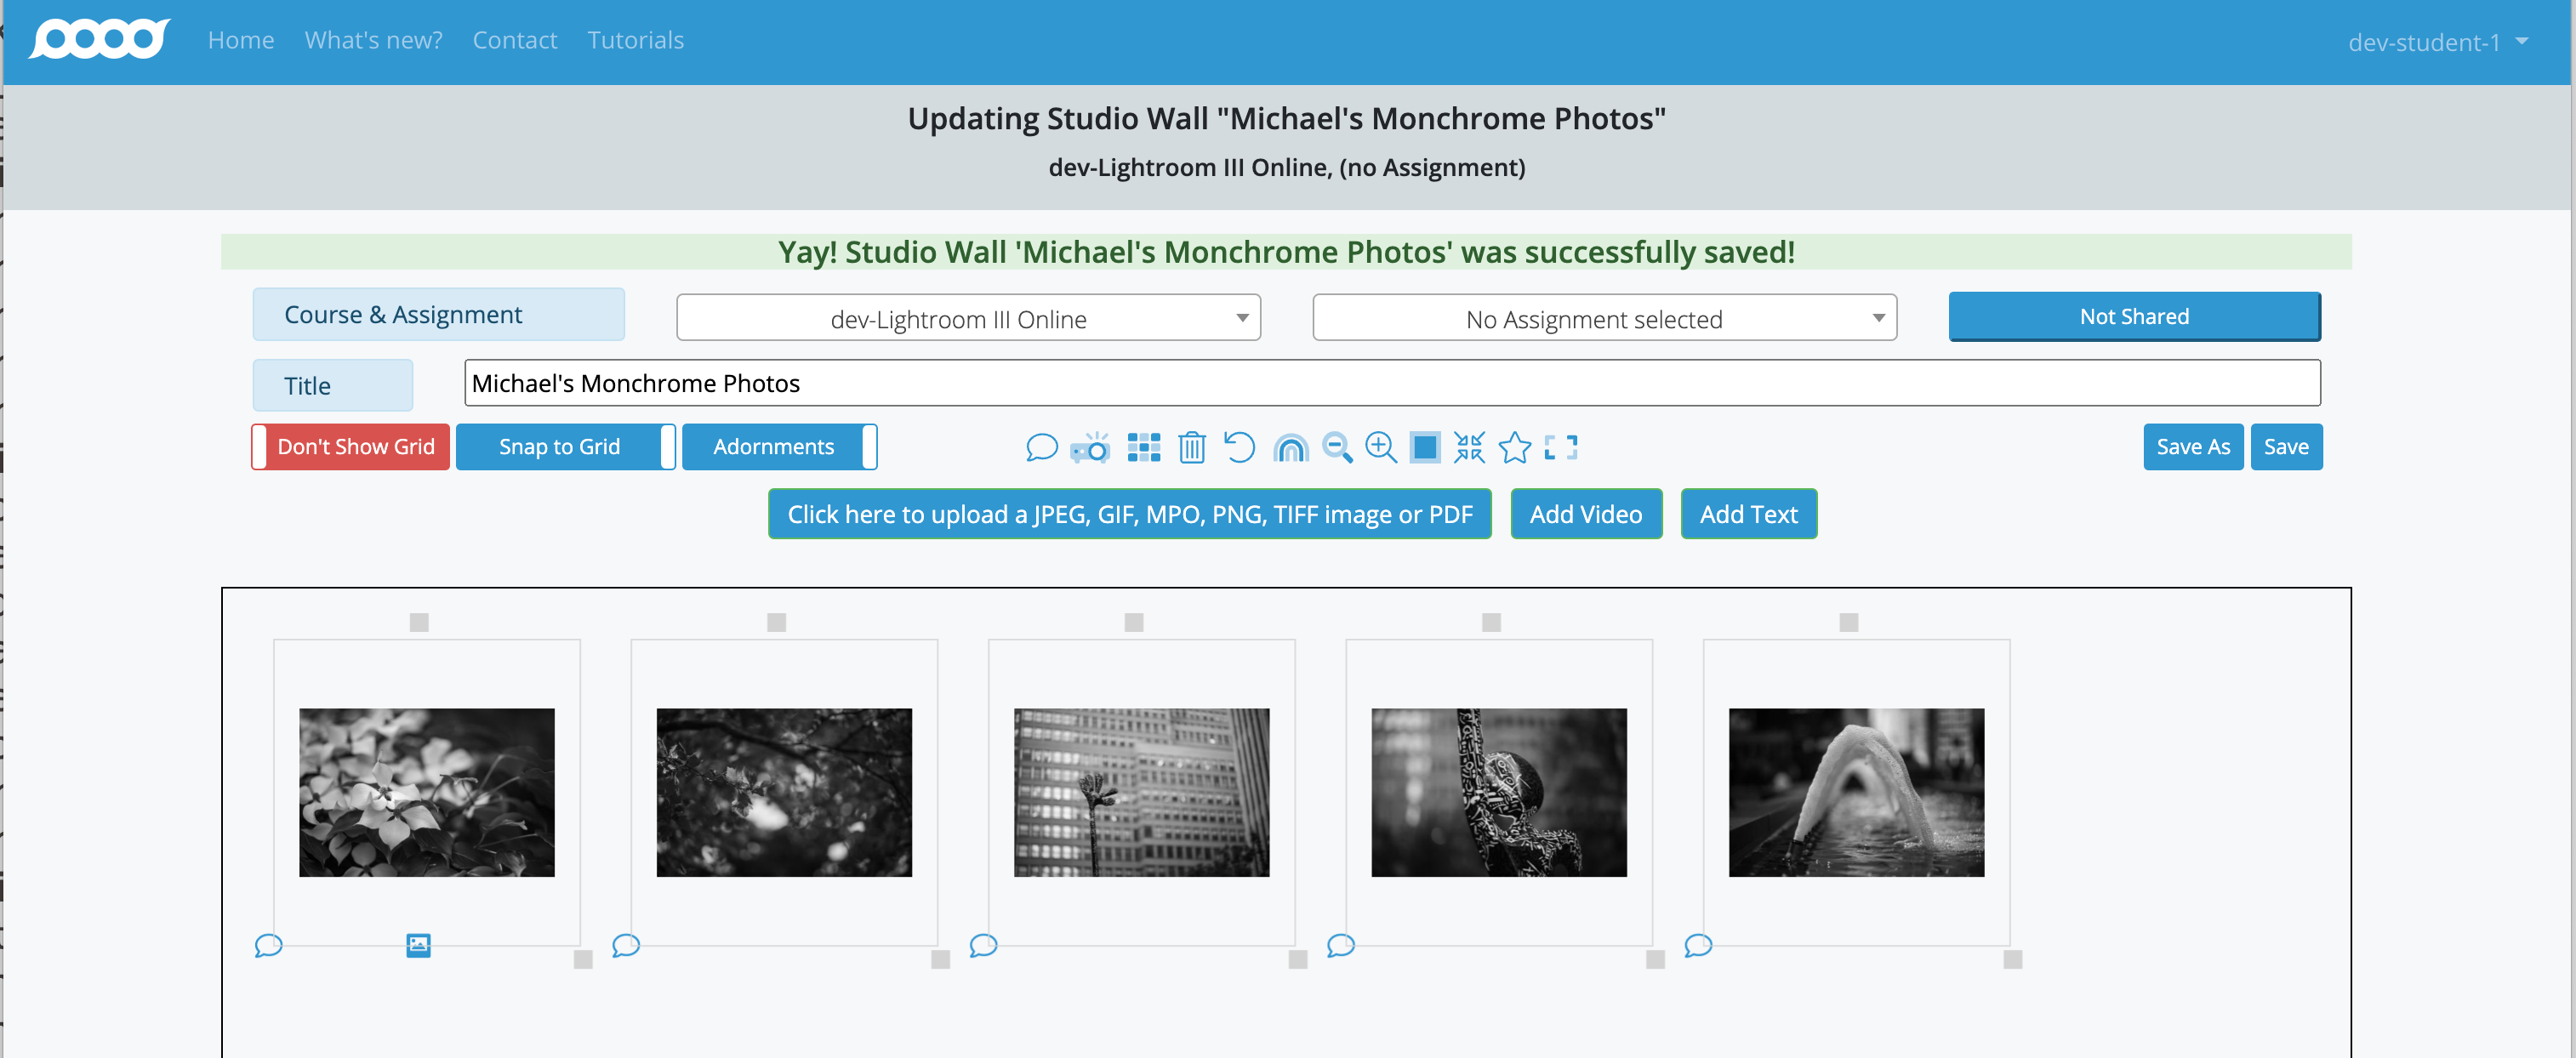
Confirm Your Save: When the save operation completes, a confirmation message will appear at the top of the screen.
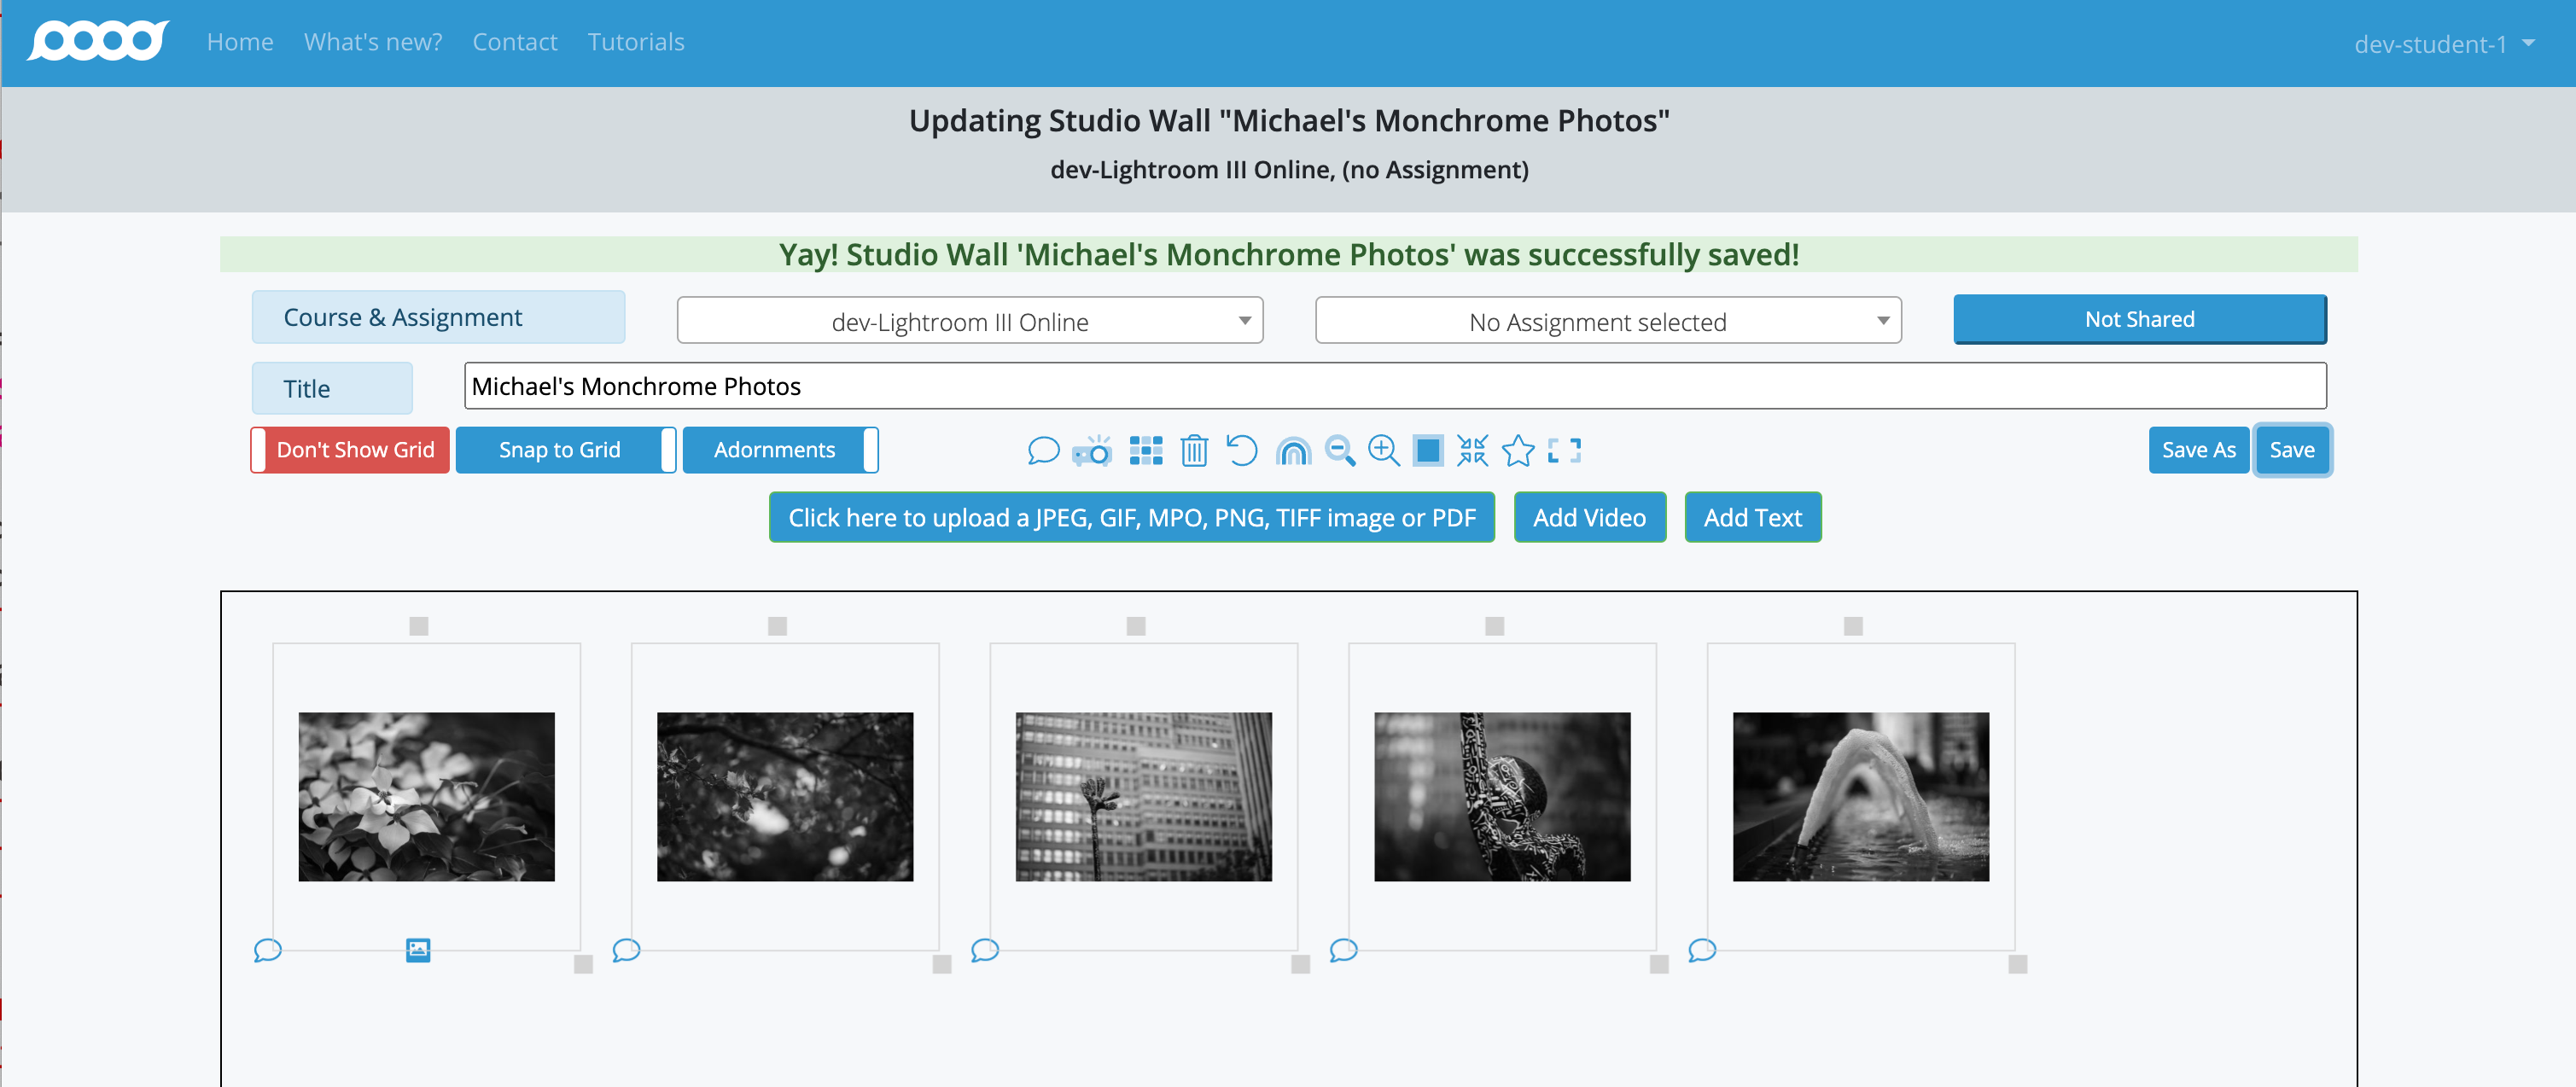
This message confirms that your Studio Wall updates have been successfully saved and are now permanent.
Studio Wall Update Complete!
You've successfully learned how to update your Studio Wall by deleting, moving, and resizing photographs. Remember that you can always use the undo feature if you make a mistake, and don't forget to save your work regularly.