Tutorial: Labels, Ratings, Flags and Collections, oh my!
Introduction
External tools such as Adobe Lightroom, Adobe Raw, Capture One, Apple Photos, and others support different ways of organizing your photographs using "labels", "ratings", and "flags". These are stored as data alongside your photograph as "EXIF" and "XMP" data. EXIF and XMP data are standards which are vendor independant, which means that no single vendor like Adobe, Apple, etc control them. Instead their definitions are managed by "neutral" organizations like ISO, JEITA, and CIPA. Atget now supports this data, so if you set a photo's rating, label, or pick status using another tool such as Lightroom, Atget will also reflect that. For example, if you're a Lightroom user, you might "rate" your photos 1-5 before adding them to your Studio Wall. Since Atget now supports ratings, you, your instructors, and classmates will also be able to see your ratings (that is, if you've shared your Studio Wall!) to see how you ranked your photos. And, as you will learn below, you can also change the ratings in Atget if you change your mind.Pro Tip:
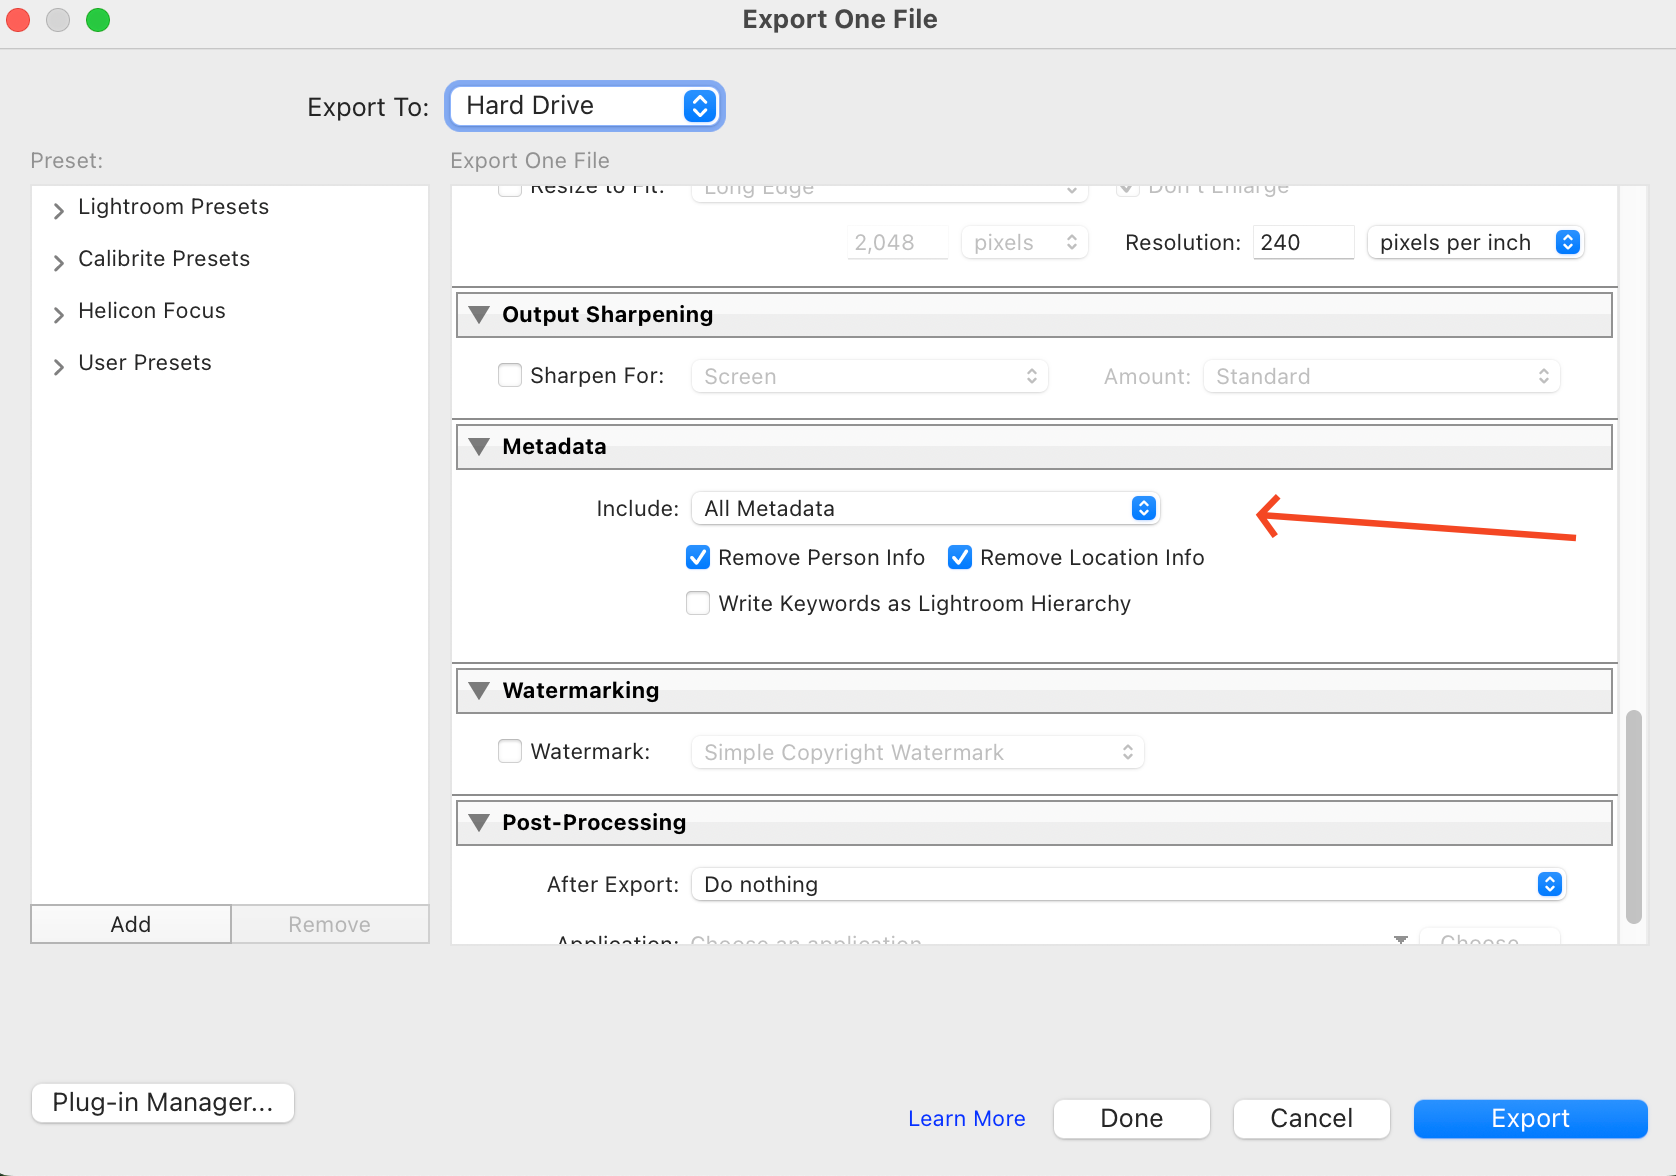
When you export your photos from your tool, you
need to make sure you tell it to include all metadata for Atget
to see it! Note you don't need to include sensitive information like
"Person" or "Location" information.
For example, this is the setting you'd choose in the Lightroom Export dialog
(you have to scroll through the export settings to get to it):
Labels
Item "labels" are show up as a colored square on the lower left corner of the item. As discussed before, the label can be white (for no label), red, yellow, green, blue, or purple.
The item below has green label: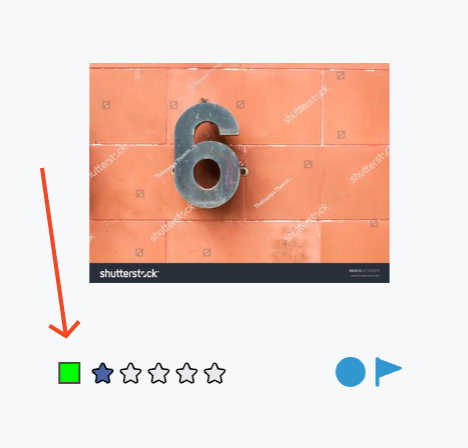
Setting Labels
Using the keyboard
The fastest way to set a label by the keyboard: position the mouse over an item on the Studio Wall and type the label's key:- 6 - Red
- 7 - Yellow
- 8 - Green
- 9 - Blue
- v - Violet
- w - White
Using the context menu
You can also set the label using the context menu. Remember when you right click on an item on the wall the context menu appears: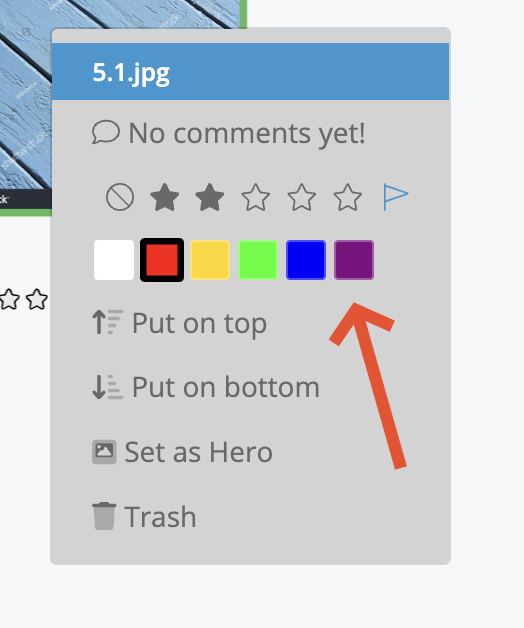
Undo
If you make a mistake setting an item's label, just hit Command-Z to undo it. A message will briefly appear confirming that it's been set to it's old label.Ratings
Item "ratings" are show up as a series of 5 stars on the bottom left of the item, just to the right of the label. The number of solid stars () is the item's rating from 0 () to 5 ().
The item below has a rating of 2.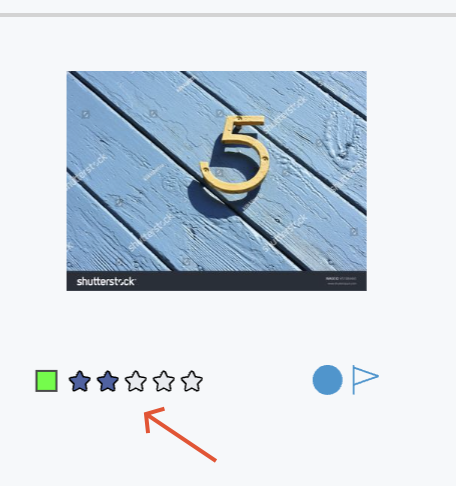
Setting Ratings
Using the keyboard
The fastest way to set an item's rating is to position the mouse over an item on the Studio Wall and type the rating's key:- 0 - Zero, or no rating
- 1 - 1 star
- 2 - 2 stars
- 3 - 3 stars
- 4 - 4 stars
- 5 - 5 stars
Using the context menu
You can also set the rating using the context menu. Remember when you right click on an item on the wall the context menu appears: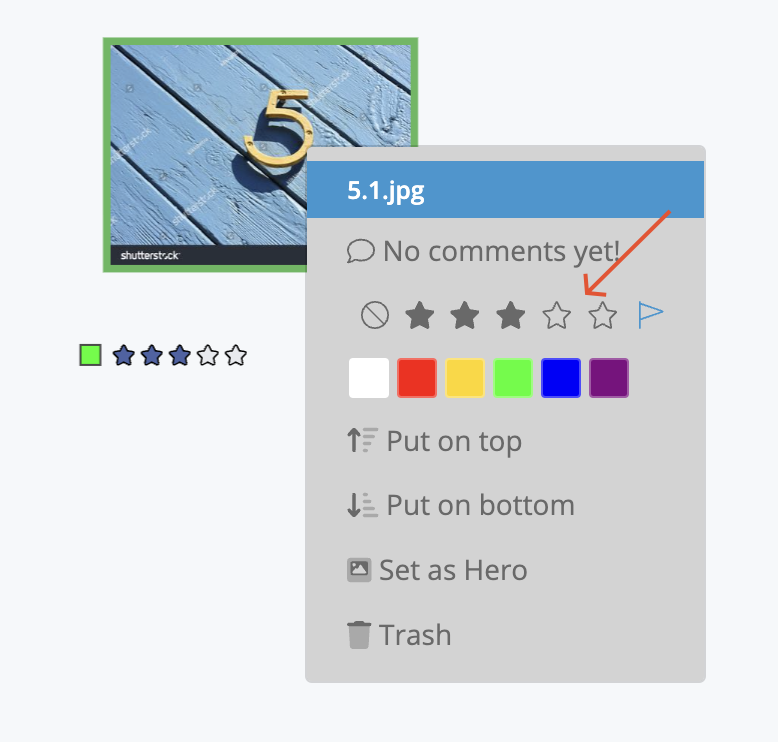
Undo
If you make a mistake setting an item's rating, just hit Command-Z to undo it. A message will briefly appear confirming that it's been set to it's old rating.Flag
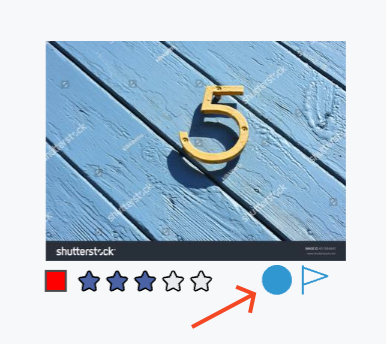
The item "flag" has two settings "flagged as picked", which appears as a solid pennant , or "not flagged as picked" which appear as an outlined pennant.
Flags are most often used by photographers to indicate which photos from a a group has been picked for use. The item below has been flagged as picked: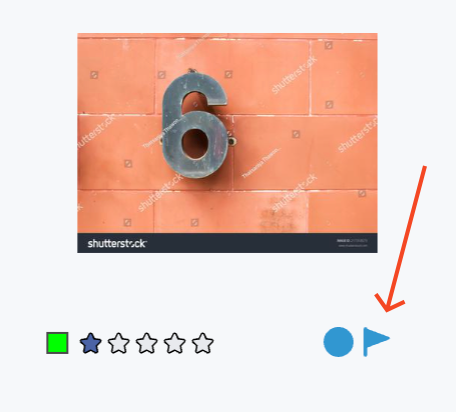
Setting the Flag
Using the keyboard
The fastest way to set an item's flag is to position the mouse over an item on the Studio Wall and type the flag key:- p - Flag as picked
- u - Flag as unpicked
Using the context menu
You can also set the flag using the context menu. Remember when you right click on an item on the wall the context menu appears: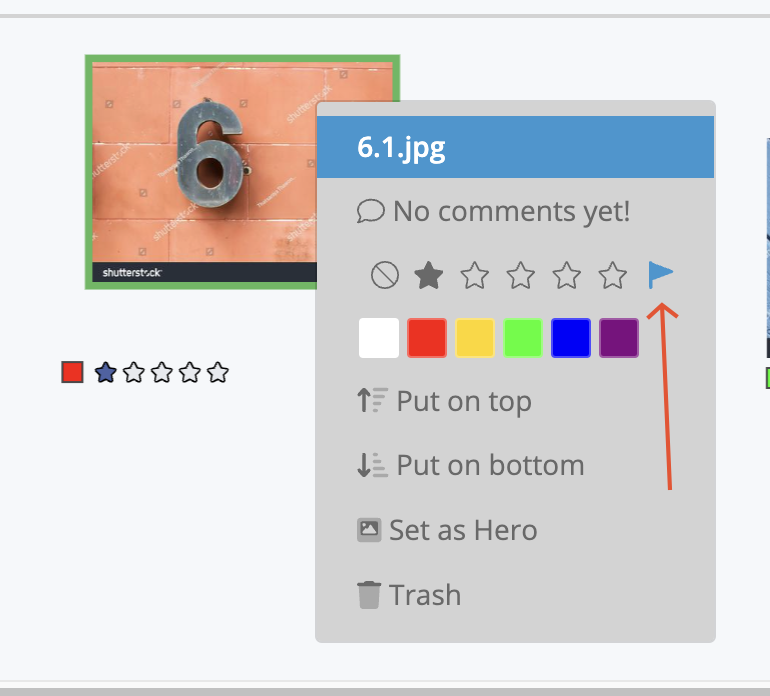
Undo
If you make a mistake flagging or unflagging an item, just hit Command-Z to undo it. A message will briefly appear confirming that it's been set to it's old flag status.Collect(ed)
There is a whole tutorial page on Collections here, but we'd like to introduce the "collection" indicator here, which tells you whether or not the item is in the current collection.
The "collection" indicator is a circle, which is either solid when it's in the current collection, and outlined if it's not. The item below is in the current collection: