Collections
Introduction
Collections are a way for you to collect Studio Wall items from multiple Studio Walls into a special kind of Studio Wall called a "collection". Atget Studio's collections are tailored for an educational environment: there is one collection per student, per course. This way, you can collect your favorite photographs from a course into a collection. For example, if you had a 7-week course, your collection might have 2 images from week 1, 5 from week 2, etc. At the end of the course (or actually any other time) you can refer to your collection to what your favorites have been.Creating the Collection
Atget Studio creates the Collection for your course automaticaly the first time you add an item to the current collection (see below). Here's what that looks like on your Atget Studio page:
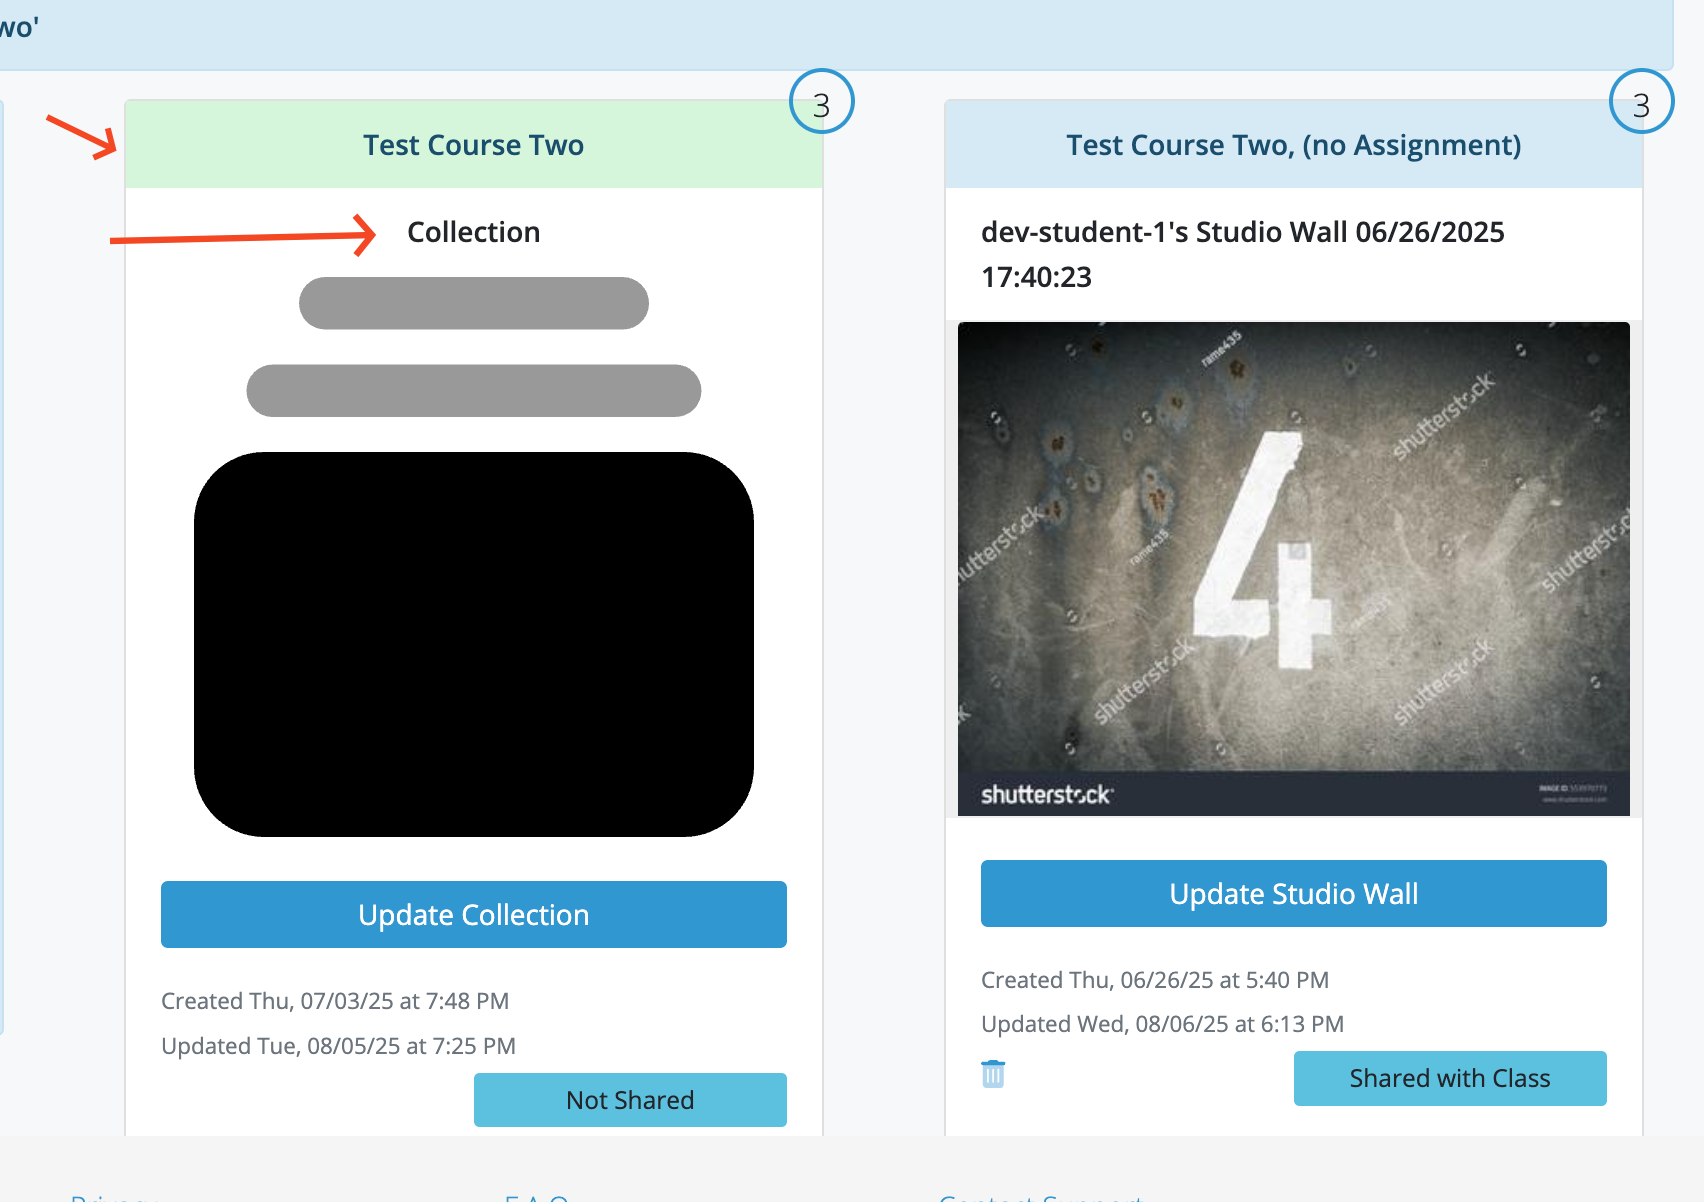
- The green title bar, which contains the name of the course this Collection is for.
- The word "Collection" at the top of the card body.
- The icon, which is supposed to look like a collection of photographs (we definitly need a better one).
Adding and removing items from a collection
Using the keyboard
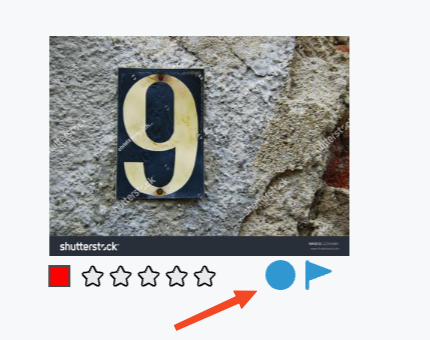
To add an item to the current collection, position the mouse over the item and press "b". When you hit the key, a message will briefly appear confirming the item has been added to the current collection. The image below shows how the item's view changes before and after the item is added to the current collection. On the left the collection indicator is an outline (), which turns solid () after the item is added to the collection.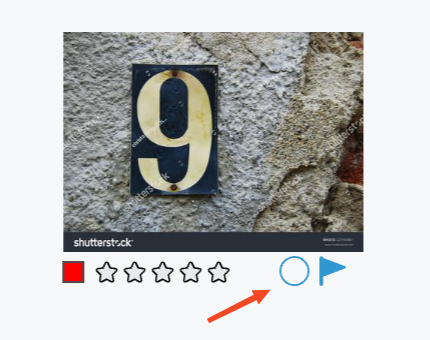
Undo
You can also "un-do" adding or removing an item from the current collection by hitting command-Z (Undo).Updating the Collection
To update a Collection, click on the "Update" button on it's card: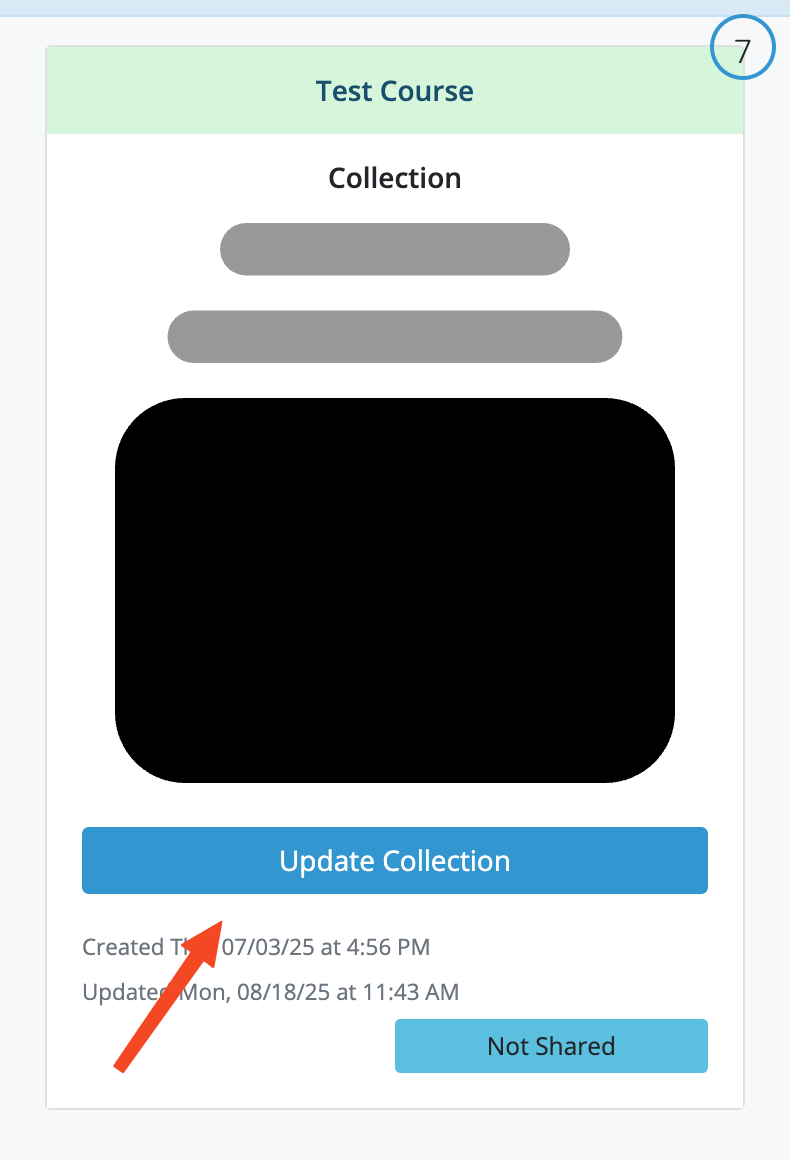
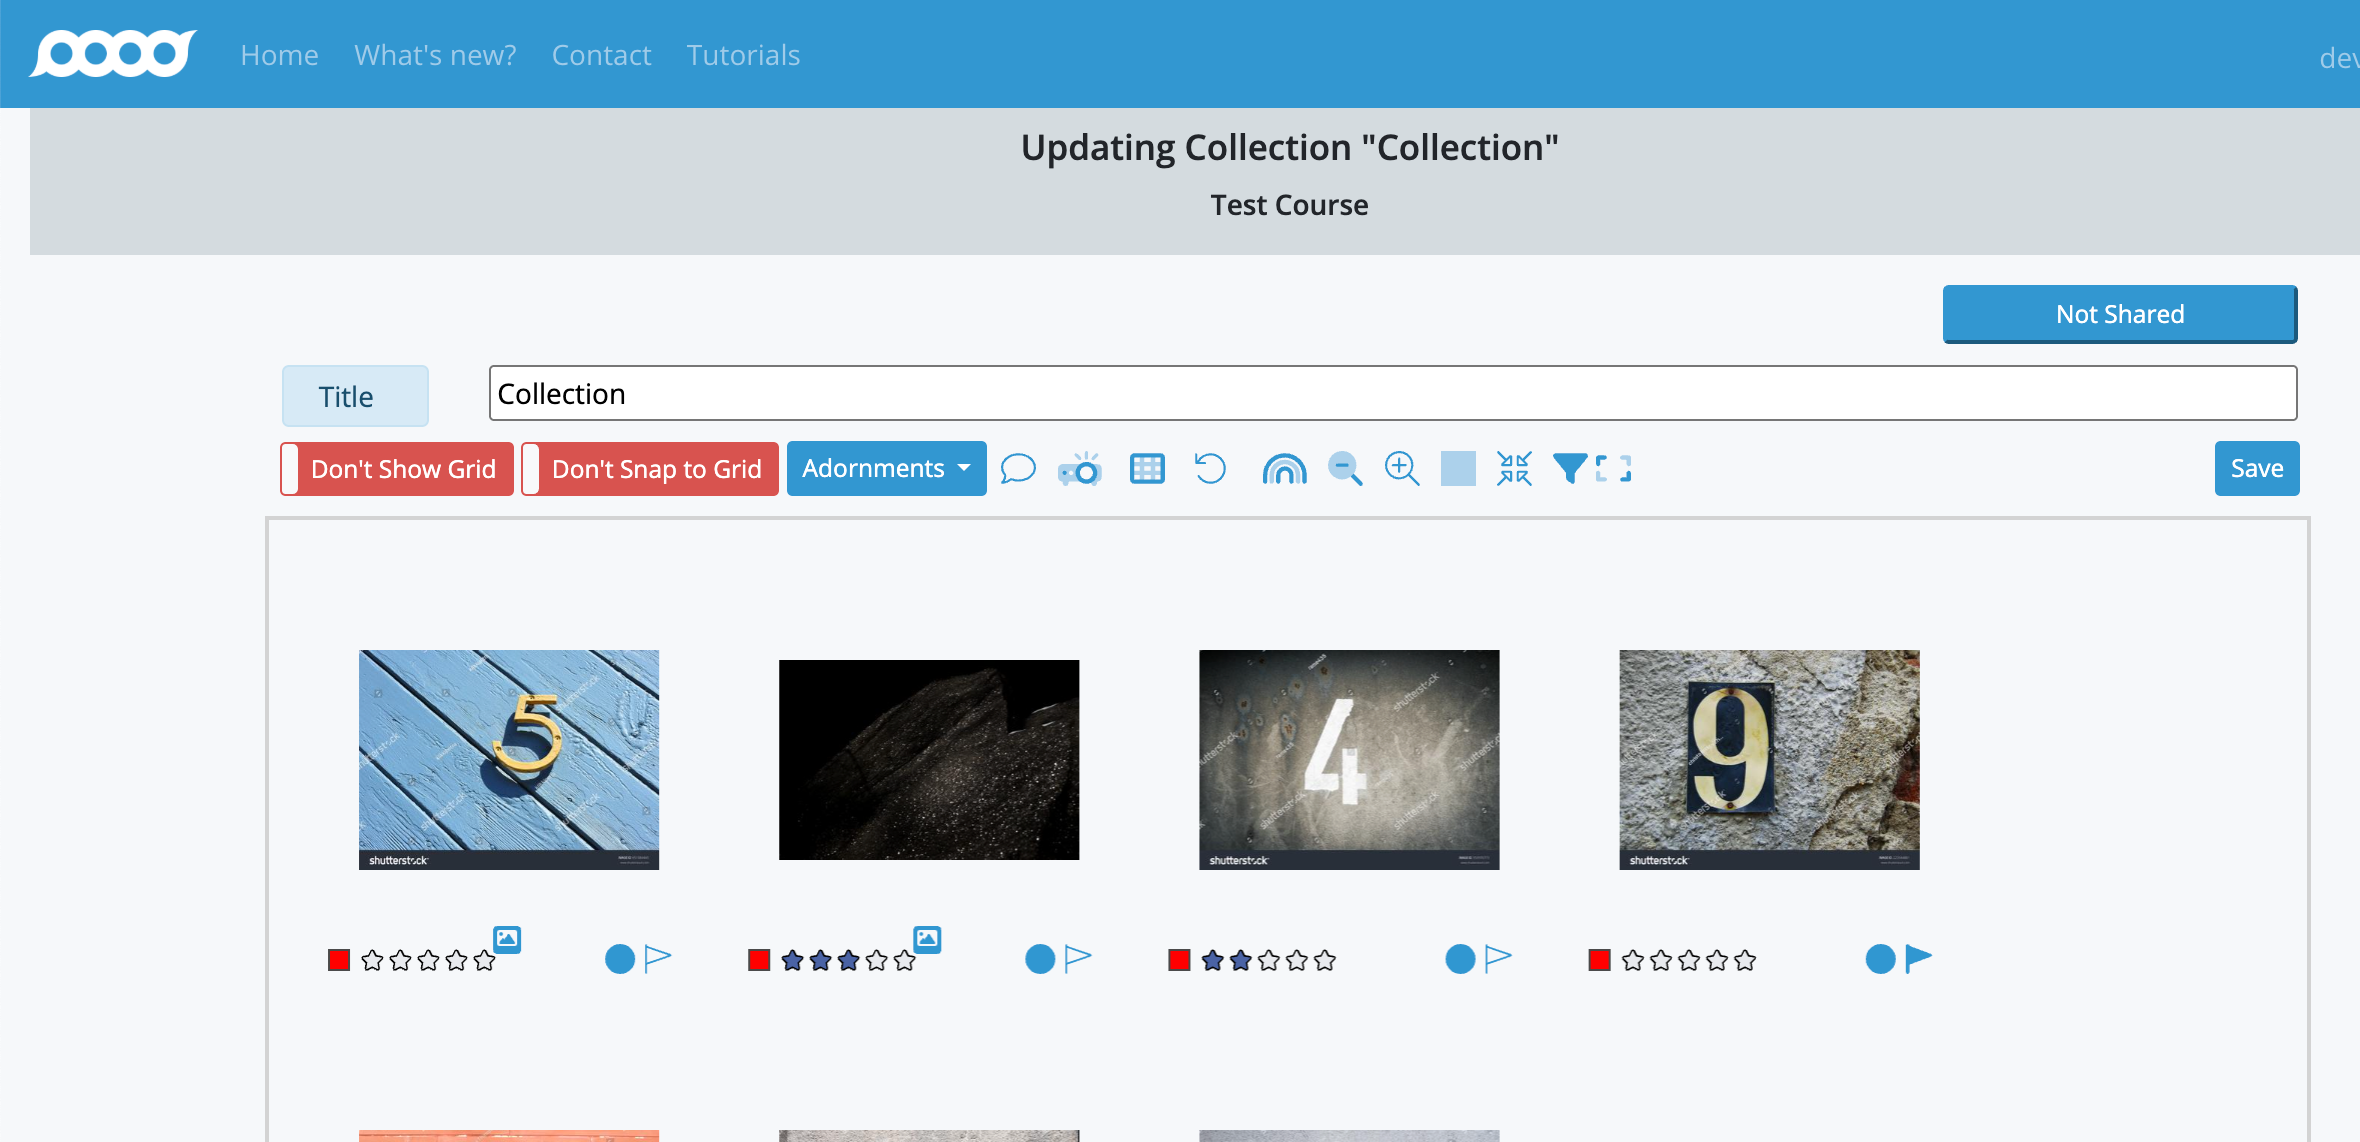
- The item's position in the collection - you can drag them around in the collection but that doesn't impact the position of the actual items.
- The item's "gridded" status.
- The item's label, rating, and flag.