Tutorial: Cropping in the Slideshow
If you want to crop an image--that is, to cut down a photo to focus on a particular part of it--on a studio wall, you can do that in the Slideshow.
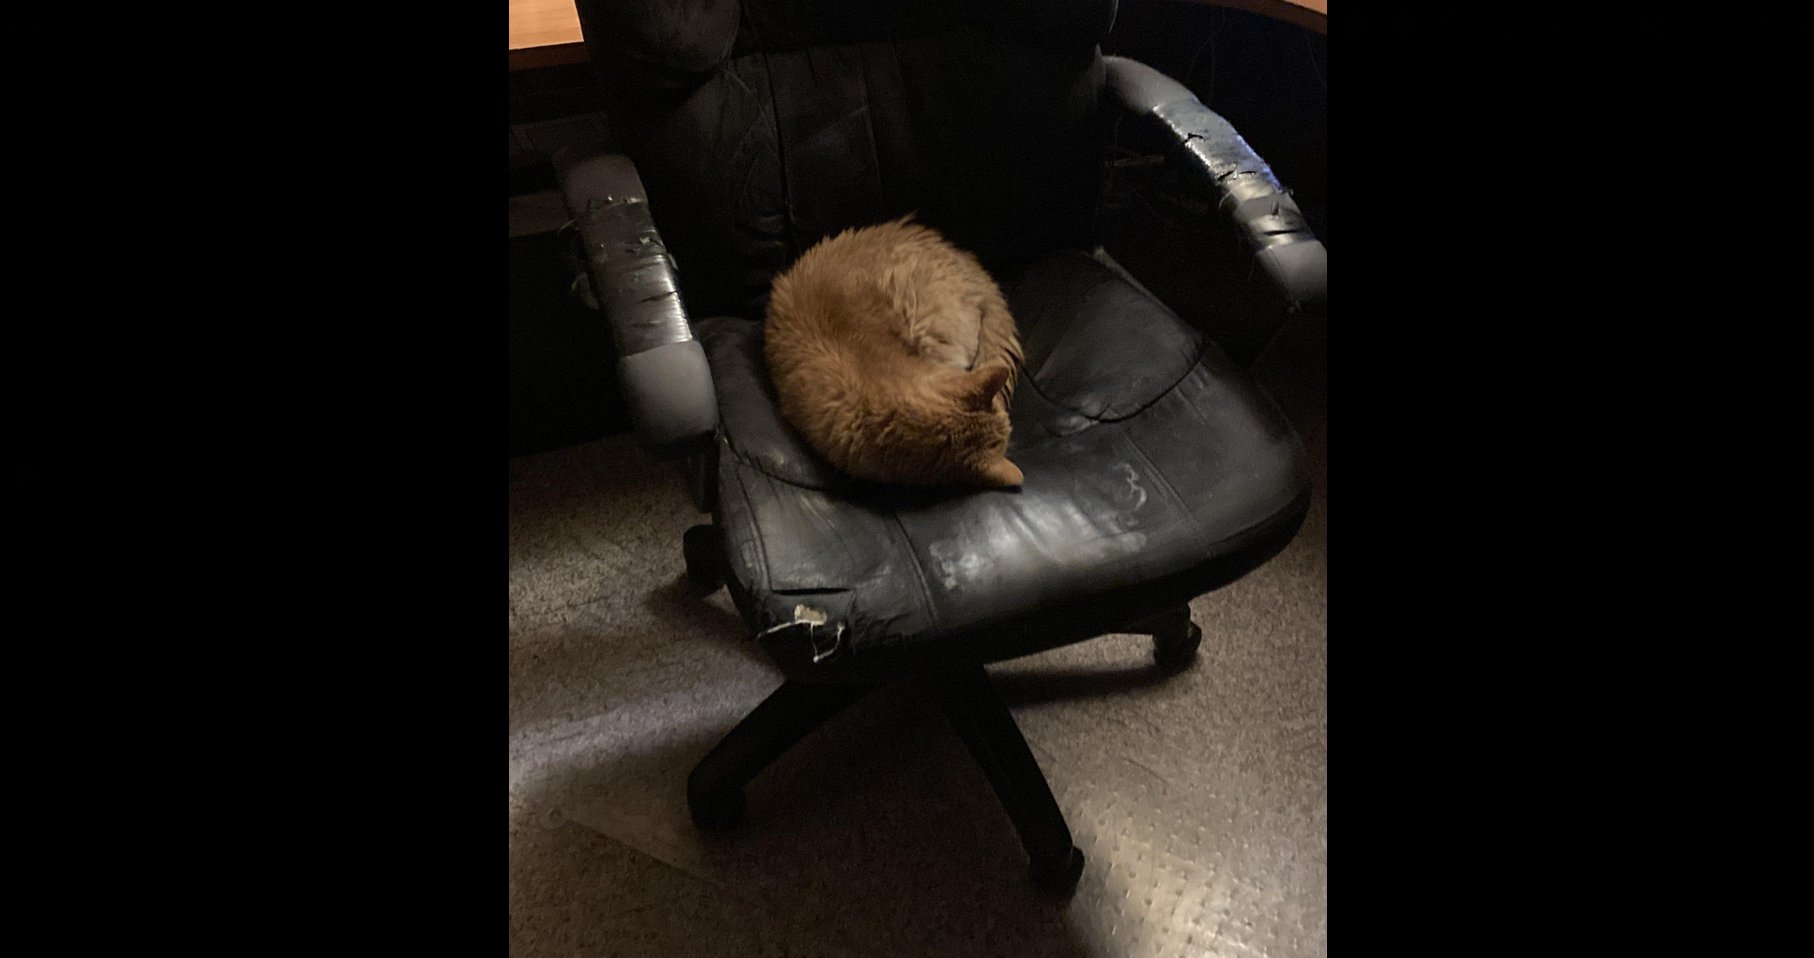
Cropping allows you to trim out unimportant parts of the background, a photobomber, or a messy office behind the cute cat.
To crop a photo in the slideshow:
- Double-click the image on the studio wall to view it in the slideshow.
- The crop cursor displays and looks like a scissors (
 ). Click and drag to create a boundary around the area you want to crop to.
- The crop boundary displays around the region you want to crop to. Everything outside this border will be discarded:

 ) to crop or click the X button (
 ) to exit without cropping.
The image is cropped:

This cropped image will display on the studio wall and will be saved with the studio wall.
After you crop, the Un-Crop button enables in the slideshow toolbar, and the crop button is disabled:  . You can click the Un-Crop button to remove the crop (or you can use Undo in the Studio Wall toolbar).
You can only crop a photograph once; that is, you cannot crop a cropped photo. If you want to change the cropping, un-crop the photo and crop it again.
Once you save the studio wall, you will not be able to un-crop the photo (and you still won't be able to crop the cropped photo). If you later change your mind, you can simply trash the photo and upload the original again.